From breakfast to dinner, from healthy meals to sweet desserts – Next Yum Recipes brings you quick, simple and tasty ideas for every occasion and every time.


 This Recipe
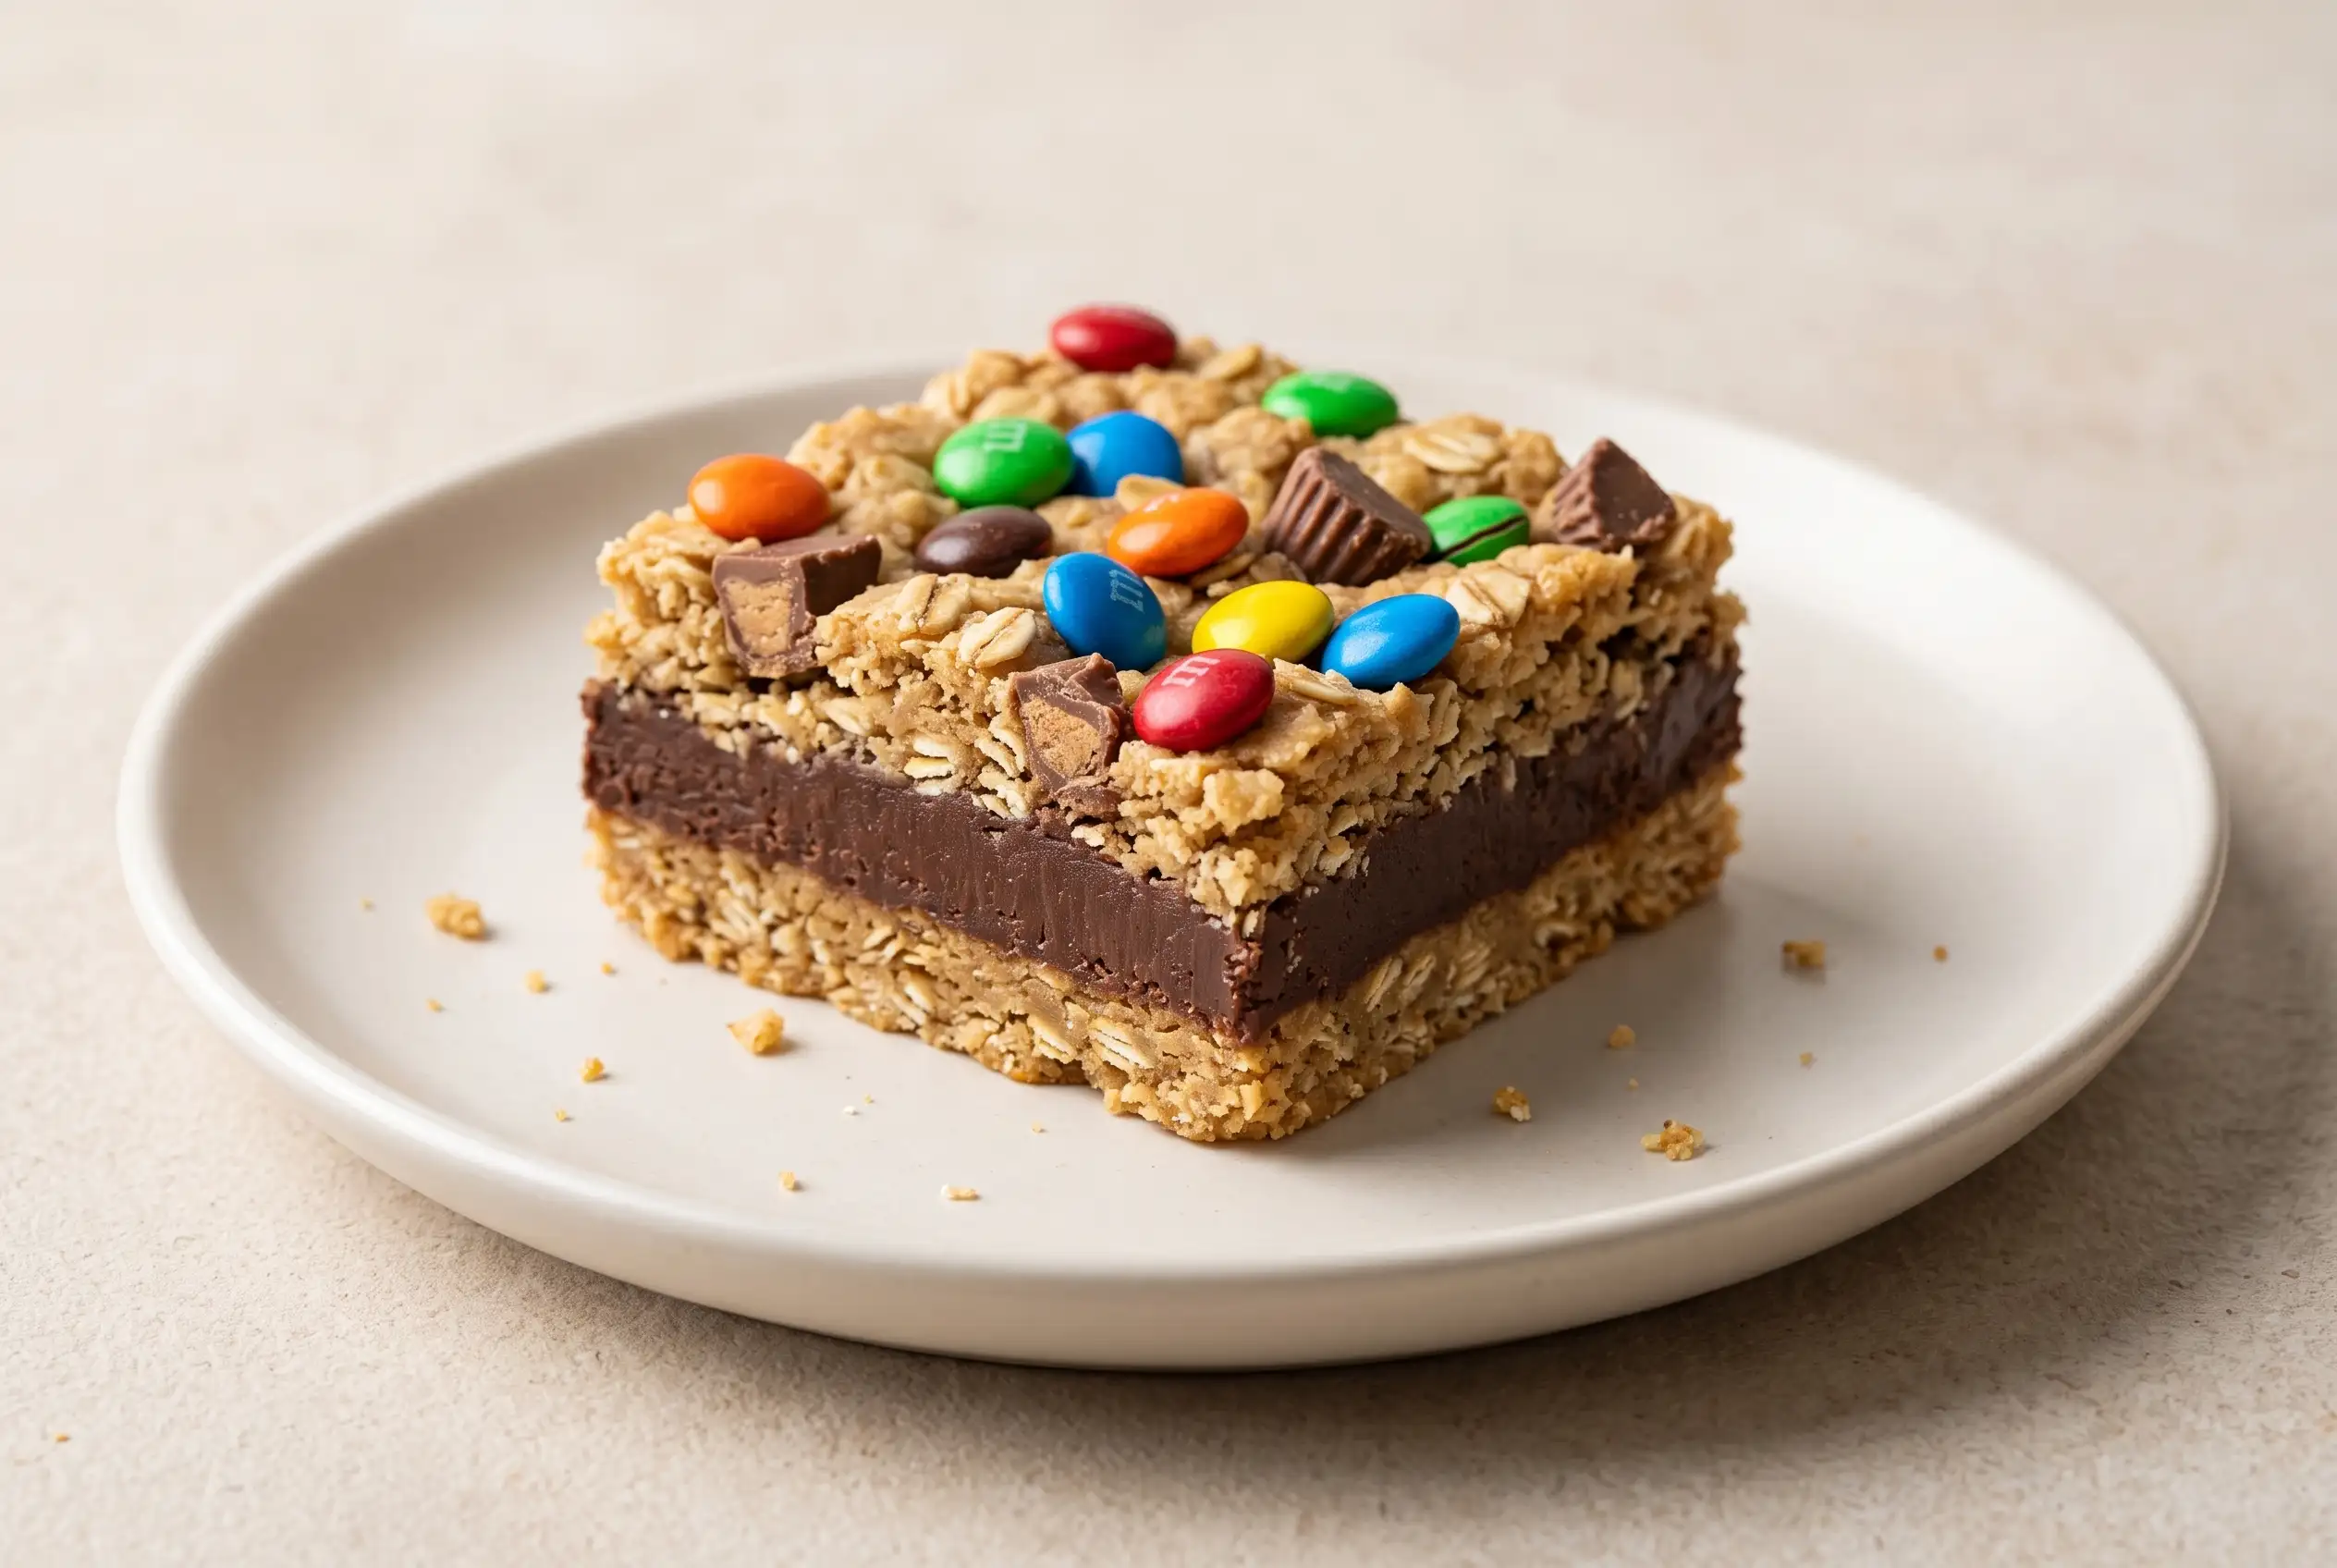
Candy fudge bars combine a chewy oatmeal base, a rich chocolate center, and colorful candy pieces into a layered dessert with contrasting textures. The combination works because the oat mixture provides structure while the sweet chocolate filling stays soft between the baked layers. These chocolate candy fudge bars are designed around a simple contrast: a tender cookie-like base surrounding a creamy fudge layer.
The preparation choices matter most when building the layers. The oat mixture needs enough strength to support the chocolate, the fudge portion needs gentle heating to stay smooth, and the finished bars need time to firm before slicing. Understanding those decisions helps create consistent m m fudge bars with clean layers and a satisfying bite.
Candy Fudge Bars Bring Oatmeal Texture and Fudge Flavor Together
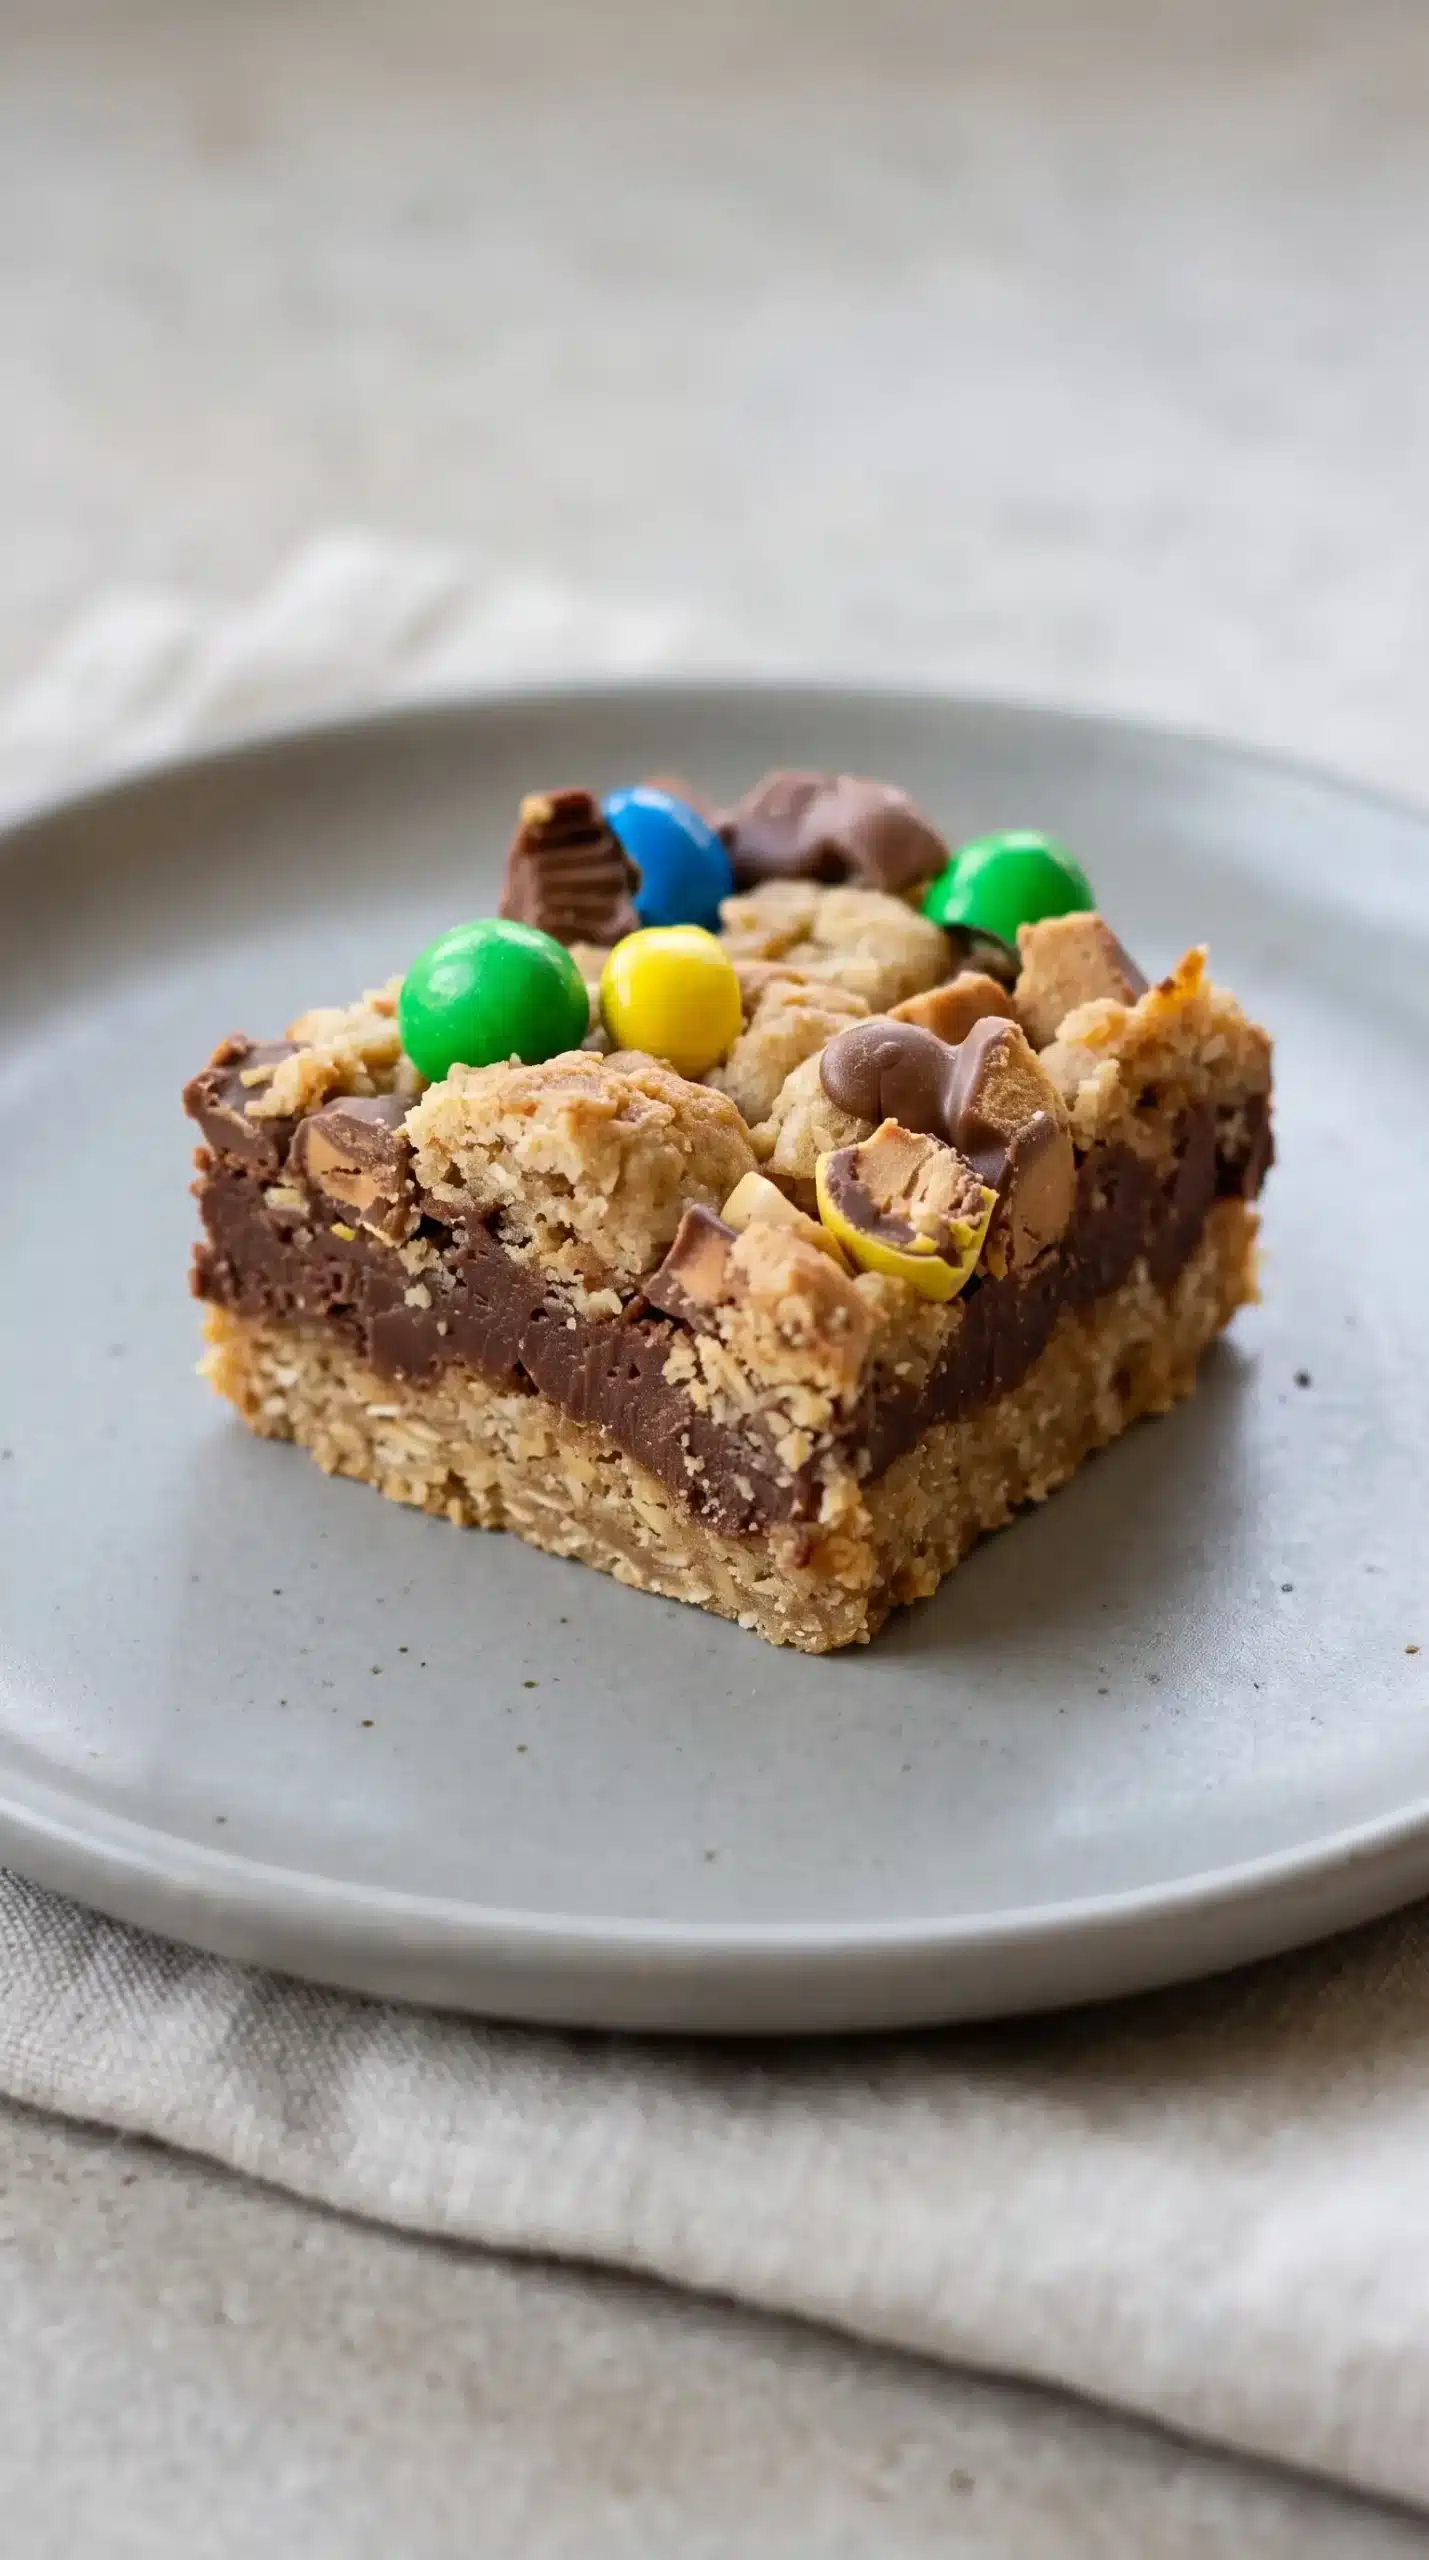
The appeal of candy fudge bars comes from the way several familiar dessert elements meet in one square. The bottom and top layers have the texture of a soft oatmeal cookie, while the middle carries the dense richness associated with fudge. Candy pieces scattered across the surface add small bursts of sweetness and a playful finish.
An oatmeal fudge bars recipe succeeds when the layers remain distinct after baking. The chocolate mixture should stay visibly moist during the short oven time, allowing the center to maintain its fudgy character once chilled. The oat portion should lightly brown while still protecting the softer filling underneath.
Oat Mixture Decisions Create the Right Bar Foundation
Quick-cooking rolled oats are especially useful in these bars because their smaller texture blends naturally into the flour-based mixture. They help create a base that feels hearty without creating large, separate pieces that could make the layers difficult to cut.
The brown sugar in the oat mixture contributes more than sweetness. Its moisture helps the baked layer stay tender, which balances the firmer chocolate portion. Mixing the butter and sugar thoroughly before adding the remaining components helps distribute that texture throughout the base.
Keeping the oat mixture as a pressable dough is important for the layered structure. Two portions are used differently: most creates the bottom foundation, while the remaining amount forms the topping that covers the chocolate. This arrangement allows the fudge layer to remain visible while still being surrounded by oats.
Chocolate Fudge Filling Holds the Center Together
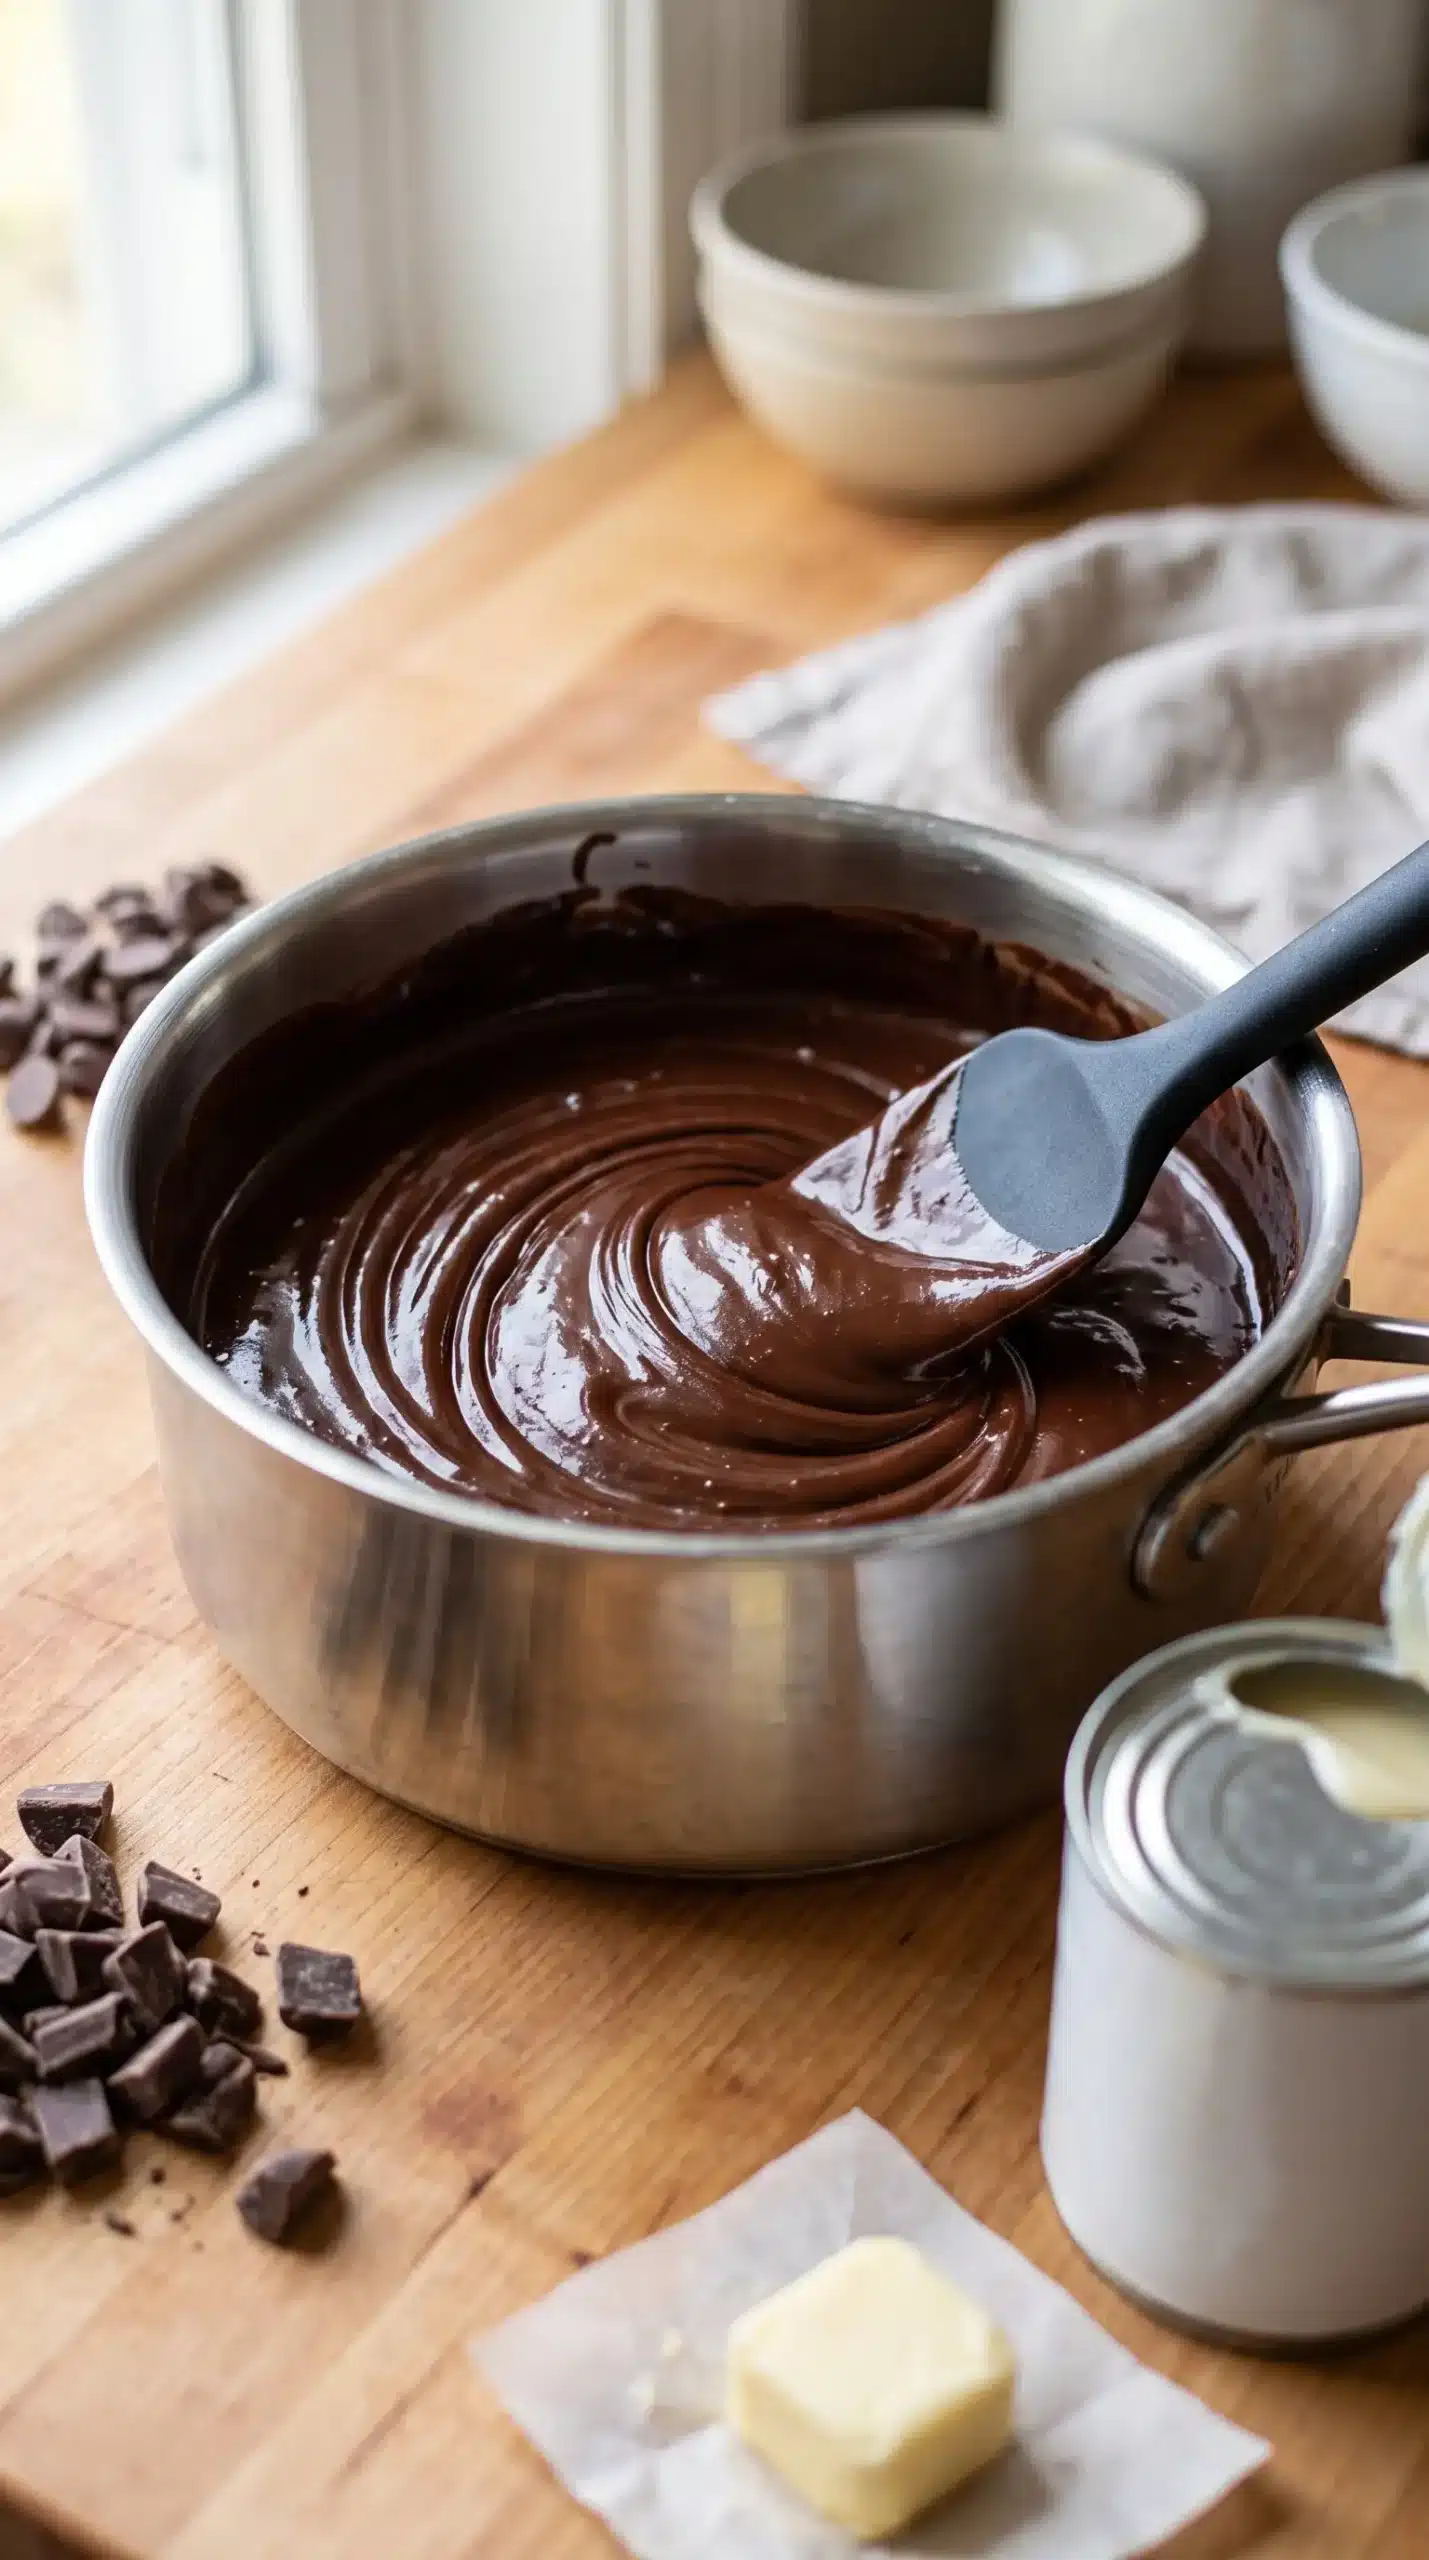
The middle layer depends on a simple combination of sweetened condensed milk, chocolate pieces, reserved butter, and vanilla. Sweetened condensed milk provides the thick, creamy quality that separates fudge filling from a standard melted chocolate topping.
Semisweet chocolate pieces keep the center balanced with the sweet candy topping. The vanilla added after heating gives the chocolate mixture a rounded flavor while avoiding unnecessary handling of the flavoring during cooking.
Candy Pieces Add a Distinct Finish to Fudge Bars
M&M’s and chopped Reese’s Peanut Butter Cups create a topping that changes each bite. Cutting the candy into smaller pieces helps distribute the flavors across the surface instead of leaving large sections dominated by one type of candy.
Brown Sugar and Butter Shape the Chewy Bar Texture
Butter affects both the flavor and the structure of the oatmeal portion. When it is beaten with brown sugar, the mixture becomes easier to combine with the egg and vanilla, creating a cohesive dough that can be pressed into the pan.
The egg helps bind the dry ingredients and supports the layered construction. Because the bars contain a rich chocolate center, the oatmeal dough does not need to become a thick standalone cookie layer. A balanced amount creates support without overpowering the fudge.
Small changes in mixing can affect the finished texture. Combining the dry ingredients only until incorporated helps preserve the tender quality of the oat layer and prevents unnecessary development of toughness.
Low Heat Protects the Smooth Fudge Layer
The chocolate mixture benefits from gentle stovetop heat because chocolate can become difficult to manage when exposed to excessive temperatures. Slow melting allows the pieces to combine with the condensed milk and butter into a smooth filling.
Stirring occasionally during melting keeps the mixture moving and helps the ingredients blend evenly. Once the chocolate has melted, adding vanilla away from the direct heat preserves its aroma and keeps the filling ready for layering.
Chocolate responds best to careful heat management because sudden temperature changes can affect its texture and appearance. Using controlled melting temperatures helps keep the mixture smooth while the fudge filling comes together.
The oven stage is focused on setting the structure, not fully drying the center. The chocolate may still look moist when the bars leave the oven, which is expected for a dessert designed to firm as it cools.
| Stage | Visual clue | Cooking decision |
|---|---|---|
| Chocolate melting | Pieces disappear into a smooth mixture | Use low heat and occasional stirring |
| Oat topping baking | Surface becomes lightly browned | Avoid waiting for a dry-looking chocolate center |
| Cooling period | Layers become easier to slice | Allow enough time for the fudge to firm |
Candy Fudge Bars Mistakes Can Affect Layered Results
Several common mistakes can change the texture of these bars. The most noticeable problems usually come from handling the layers incorrectly or judging doneness by the appearance of the chocolate alone.
- Overbaking the center: Removing the bars only when the chocolate looks completely set can lead to a less fudgy texture.
- Uneven topping pieces: Leaving the remaining oat mixture in large clumps can make the surface bake unevenly.
- Skipping firming time: Cutting too soon can cause the chocolate layer to spread instead of staying defined.
Another issue happens when the chocolate layer is treated like a standard cake filling. The moist appearance after baking is part of the intended texture. The bars gain their sliceable structure as they cool and rest.
Cutting Candy Fudge Bars Requires Patience
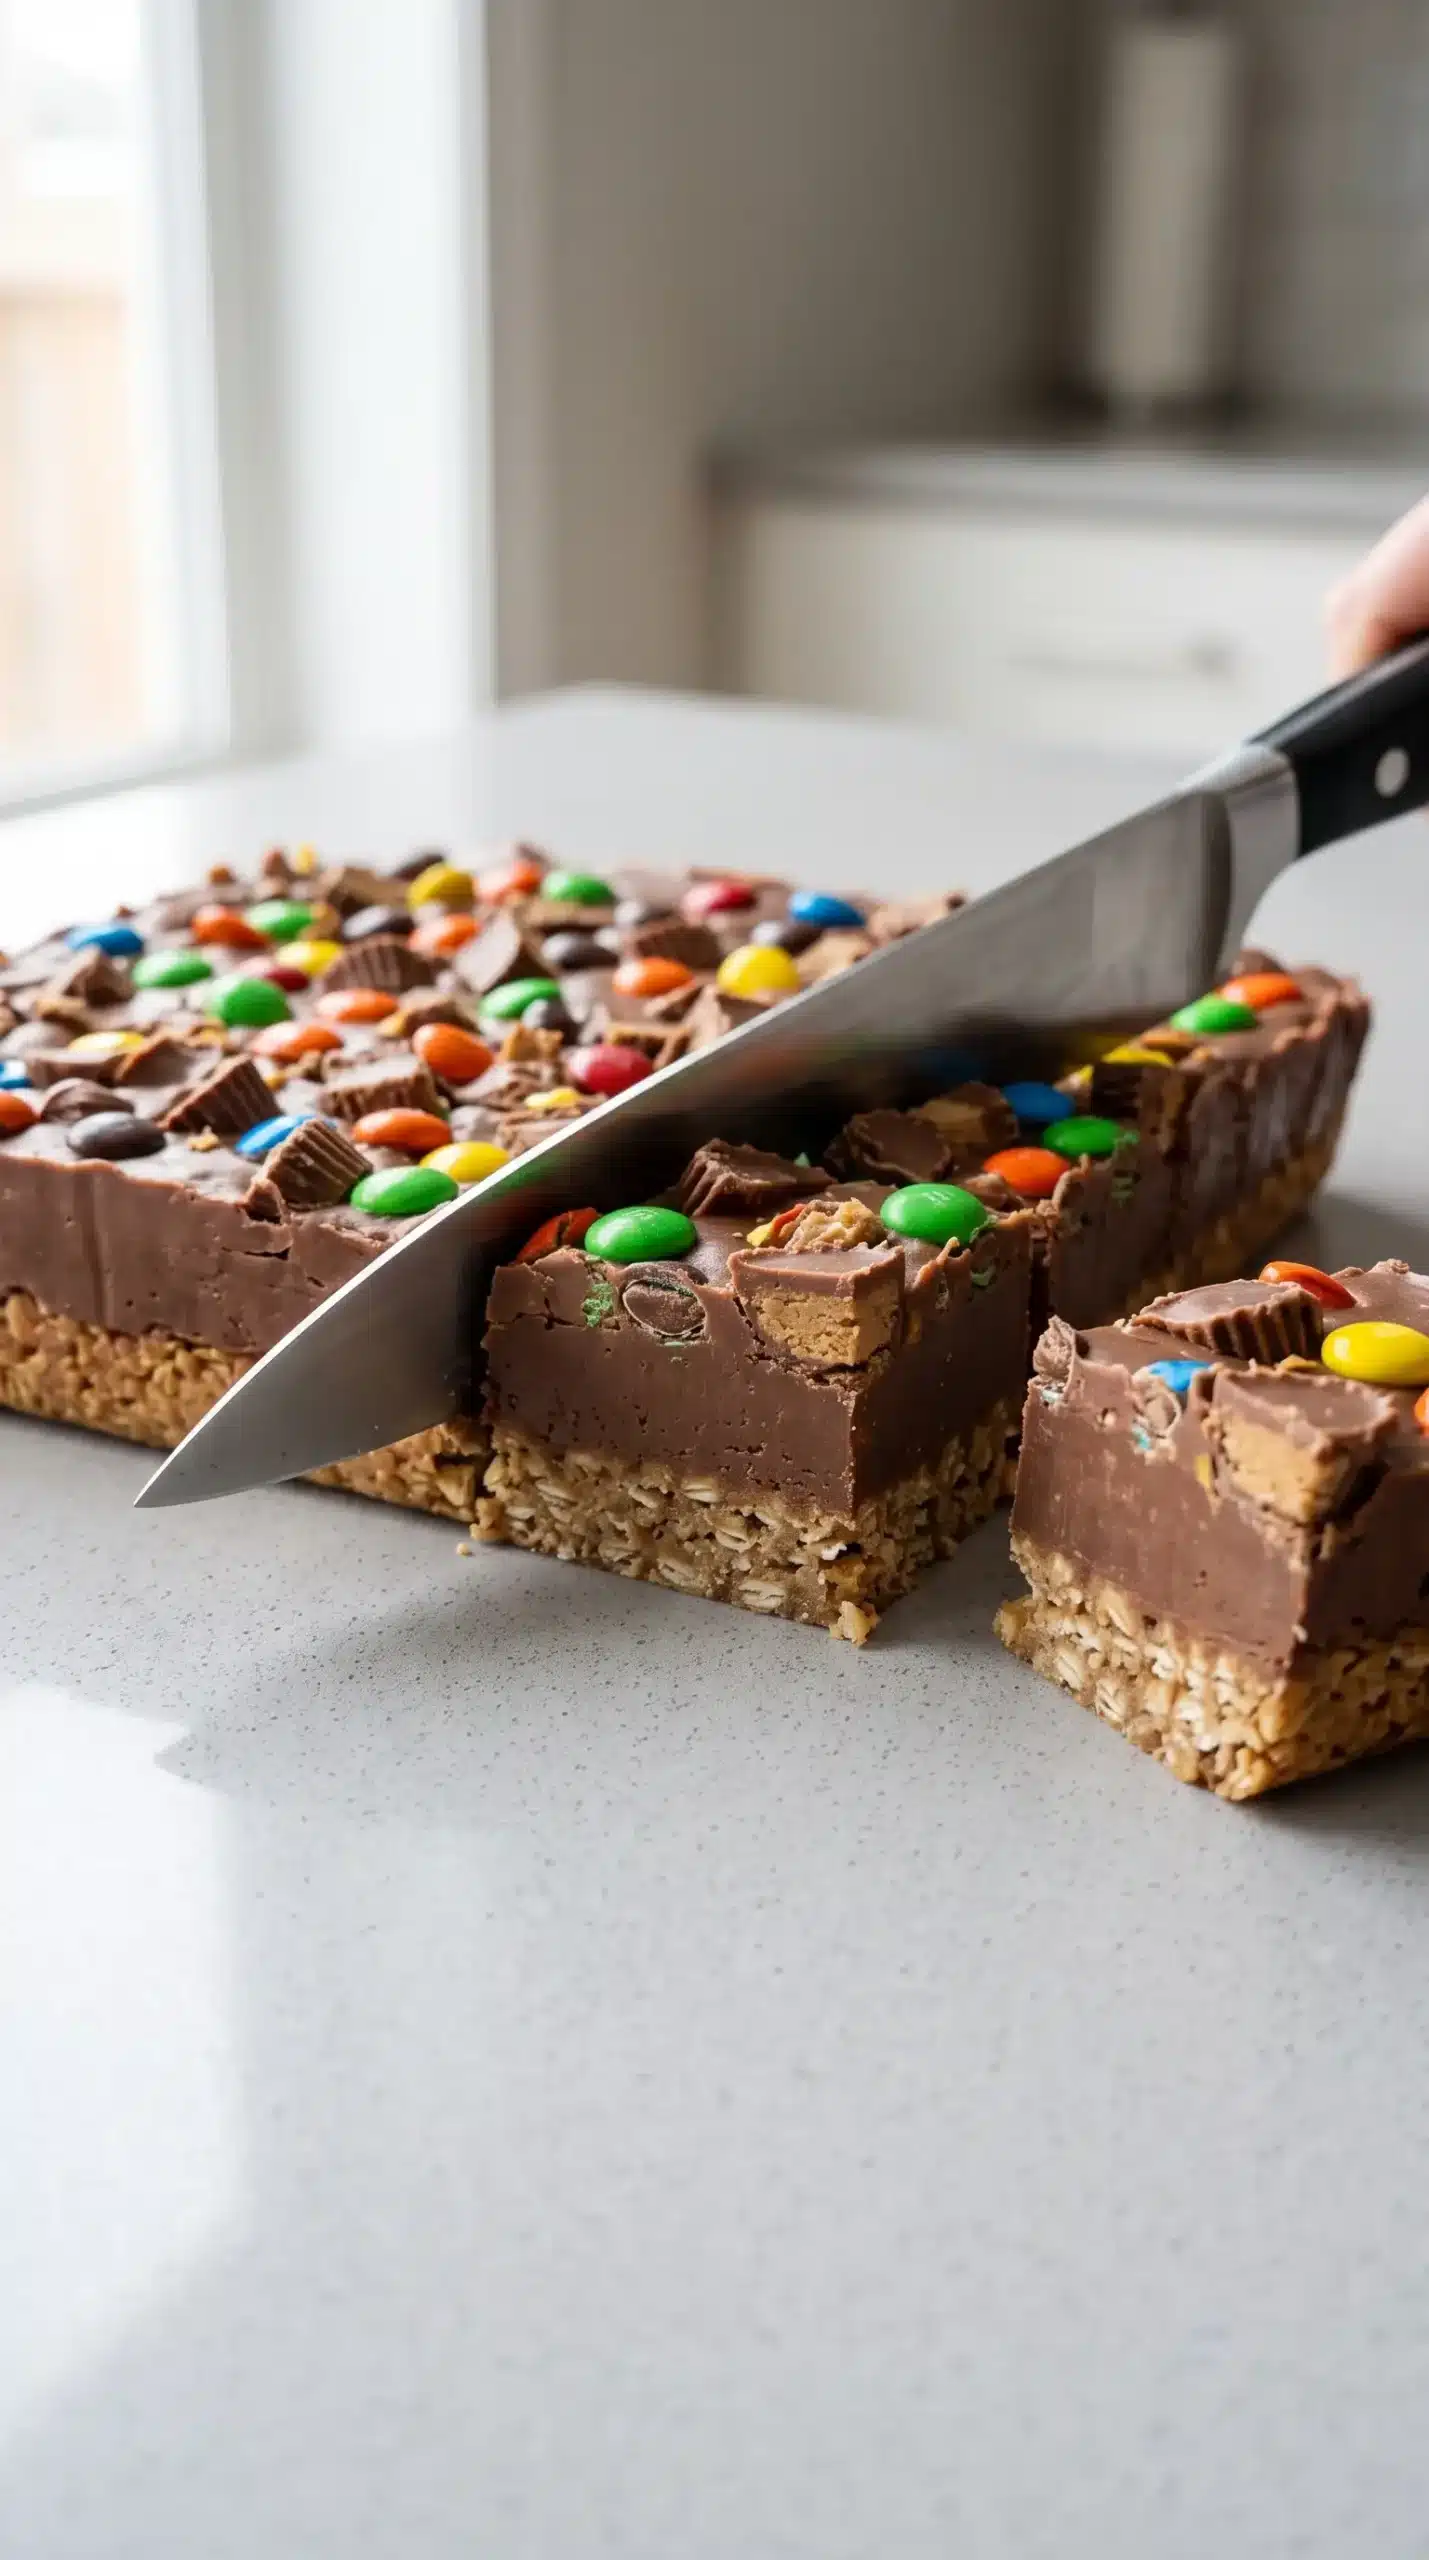
The layered design makes cooling an important part of serving. Once the chocolate has firmed, the oat layers hold together more cleanly, creating recognizable squares instead of a loose dessert mixture.
Serving Choices Highlight the Fudge Center
The bars can be served as small squares because the combination of oats, chocolate, and candy creates a rich dessert profile. Smaller portions allow the contrasting layers to remain the focus without overwhelming the palate.
The chocolate center also makes these bars suitable for different presentations. They can be arranged on a dessert plate, packed for sharing, or served after the layers have fully settled into their final texture.
Simple Variations Keep the Candy Layer Flexible
The candy topping offers room for personal preference while keeping the main structure intact. Different chocolate candies can be used when the goal is to change the mix of textures or flavors on the surface.
Storage Keeps Candy Fudge Bars Ready for Serving
After the bars have firmed, they can remain stable outside the refrigerator when stored properly. Keeping them covered helps maintain the soft oatmeal texture and protects the candy pieces on top.
If the bars are chilled again, the chocolate layer may become firmer. Allowing them to return closer to room temperature before serving can bring back the softer fudge texture that defines the dessert.
Candy Fudge Bars Show Why Layer Timing Matters
Candy fudge bars depend on the relationship between a lightly browned oat layer and a chocolate center that continues to set after baking. The most important judgment is recognizing that the dessert is finished through texture development, not simply a dry appearance from the oven.
When the layers are handled carefully, the result is a bar with a chewy base, creamy middle, and candy-studded surface that stays balanced from the first slice to the last.
Candy Fudge Bars Baking Questions and Answers
Why does the chocolate center look moist after baking?
The chocolate center is meant to remain soft when the bars leave the oven. It continues to firm as it cools, creating the fudge texture that makes these bars different from a fully baked cookie or cake.
Can candy fudge bars be cut immediately after baking?
Cutting immediately can make the layers difficult to separate cleanly because the chocolate filling has not finished setting. Waiting allows the oat layers and fudge center to hold their shape together.
What helps the oatmeal layer stay tender?
Using the butter, brown sugar, egg, and oats as a connected mixture helps create a soft structure. Avoiding excessive mixing after the dry ingredients are added also supports a tender result.
How should leftover candy fudge bars be stored?
Store the bars in a covered container to protect their texture and candy topping. They can remain firm and enjoyable after the fudge layer has fully settled.
Candy Fudge Bars with Chocolate Oatmeal and Candy Pieces
Candy Fudge Bars are a chewy, layered dessert with an oatmeal base, creamy chocolate fudge center, and candy-studded finish. They are a fun choice for gatherings or anytime you want a rich homemade treat with contrasting textures.
Ingredients
Method
Preparation
- Reserve 2 tablespoons of the butter. Beat the remaining butter or margarine in a large mixing bowl with an electric mixer on medium speed for 30 seconds.
- Add the brown sugar and mix until combined. Add the egg and 1 teaspoon vanilla, then blend in the dry ingredients until the mixture comes together.
Cooking
- Combine the reserved butter or margarine, sweetened condensed milk, and chocolate pieces in a medium saucepan. Cook over low heat, stirring occasionally, until the chocolate melts.
- Remove the saucepan from the heat and stir in the 2 teaspoons vanilla.
Assembly
- Press two-thirds of the oat mixture into the bottom of an ungreased 9×9-inch square baking pan. Spread about 3/4 of the chocolate mixture over the oat layer, reserving the remaining portion if desired.
- Use your fingers to place the remaining oat mixture over the chocolate layer. Cut the candy into pieces and sprinkle them over the top.
Baking
- Bake in a 350°F (177°C) oven for about 15 minutes, or until the top is lightly browned. The chocolate layer will still appear moist.
Notes
The bars will not be fully set when they come out of the oven, and that is expected. Refrigerate them for at least 12 hours so they firm enough to cut. After this chilling period, they can remain out of the refrigerator and still hold their shape.