From breakfast to dinner, from healthy meals to sweet desserts – Next Yum Recipes brings you quick, simple and tasty ideas for every occasion and every time.


 This Recipe
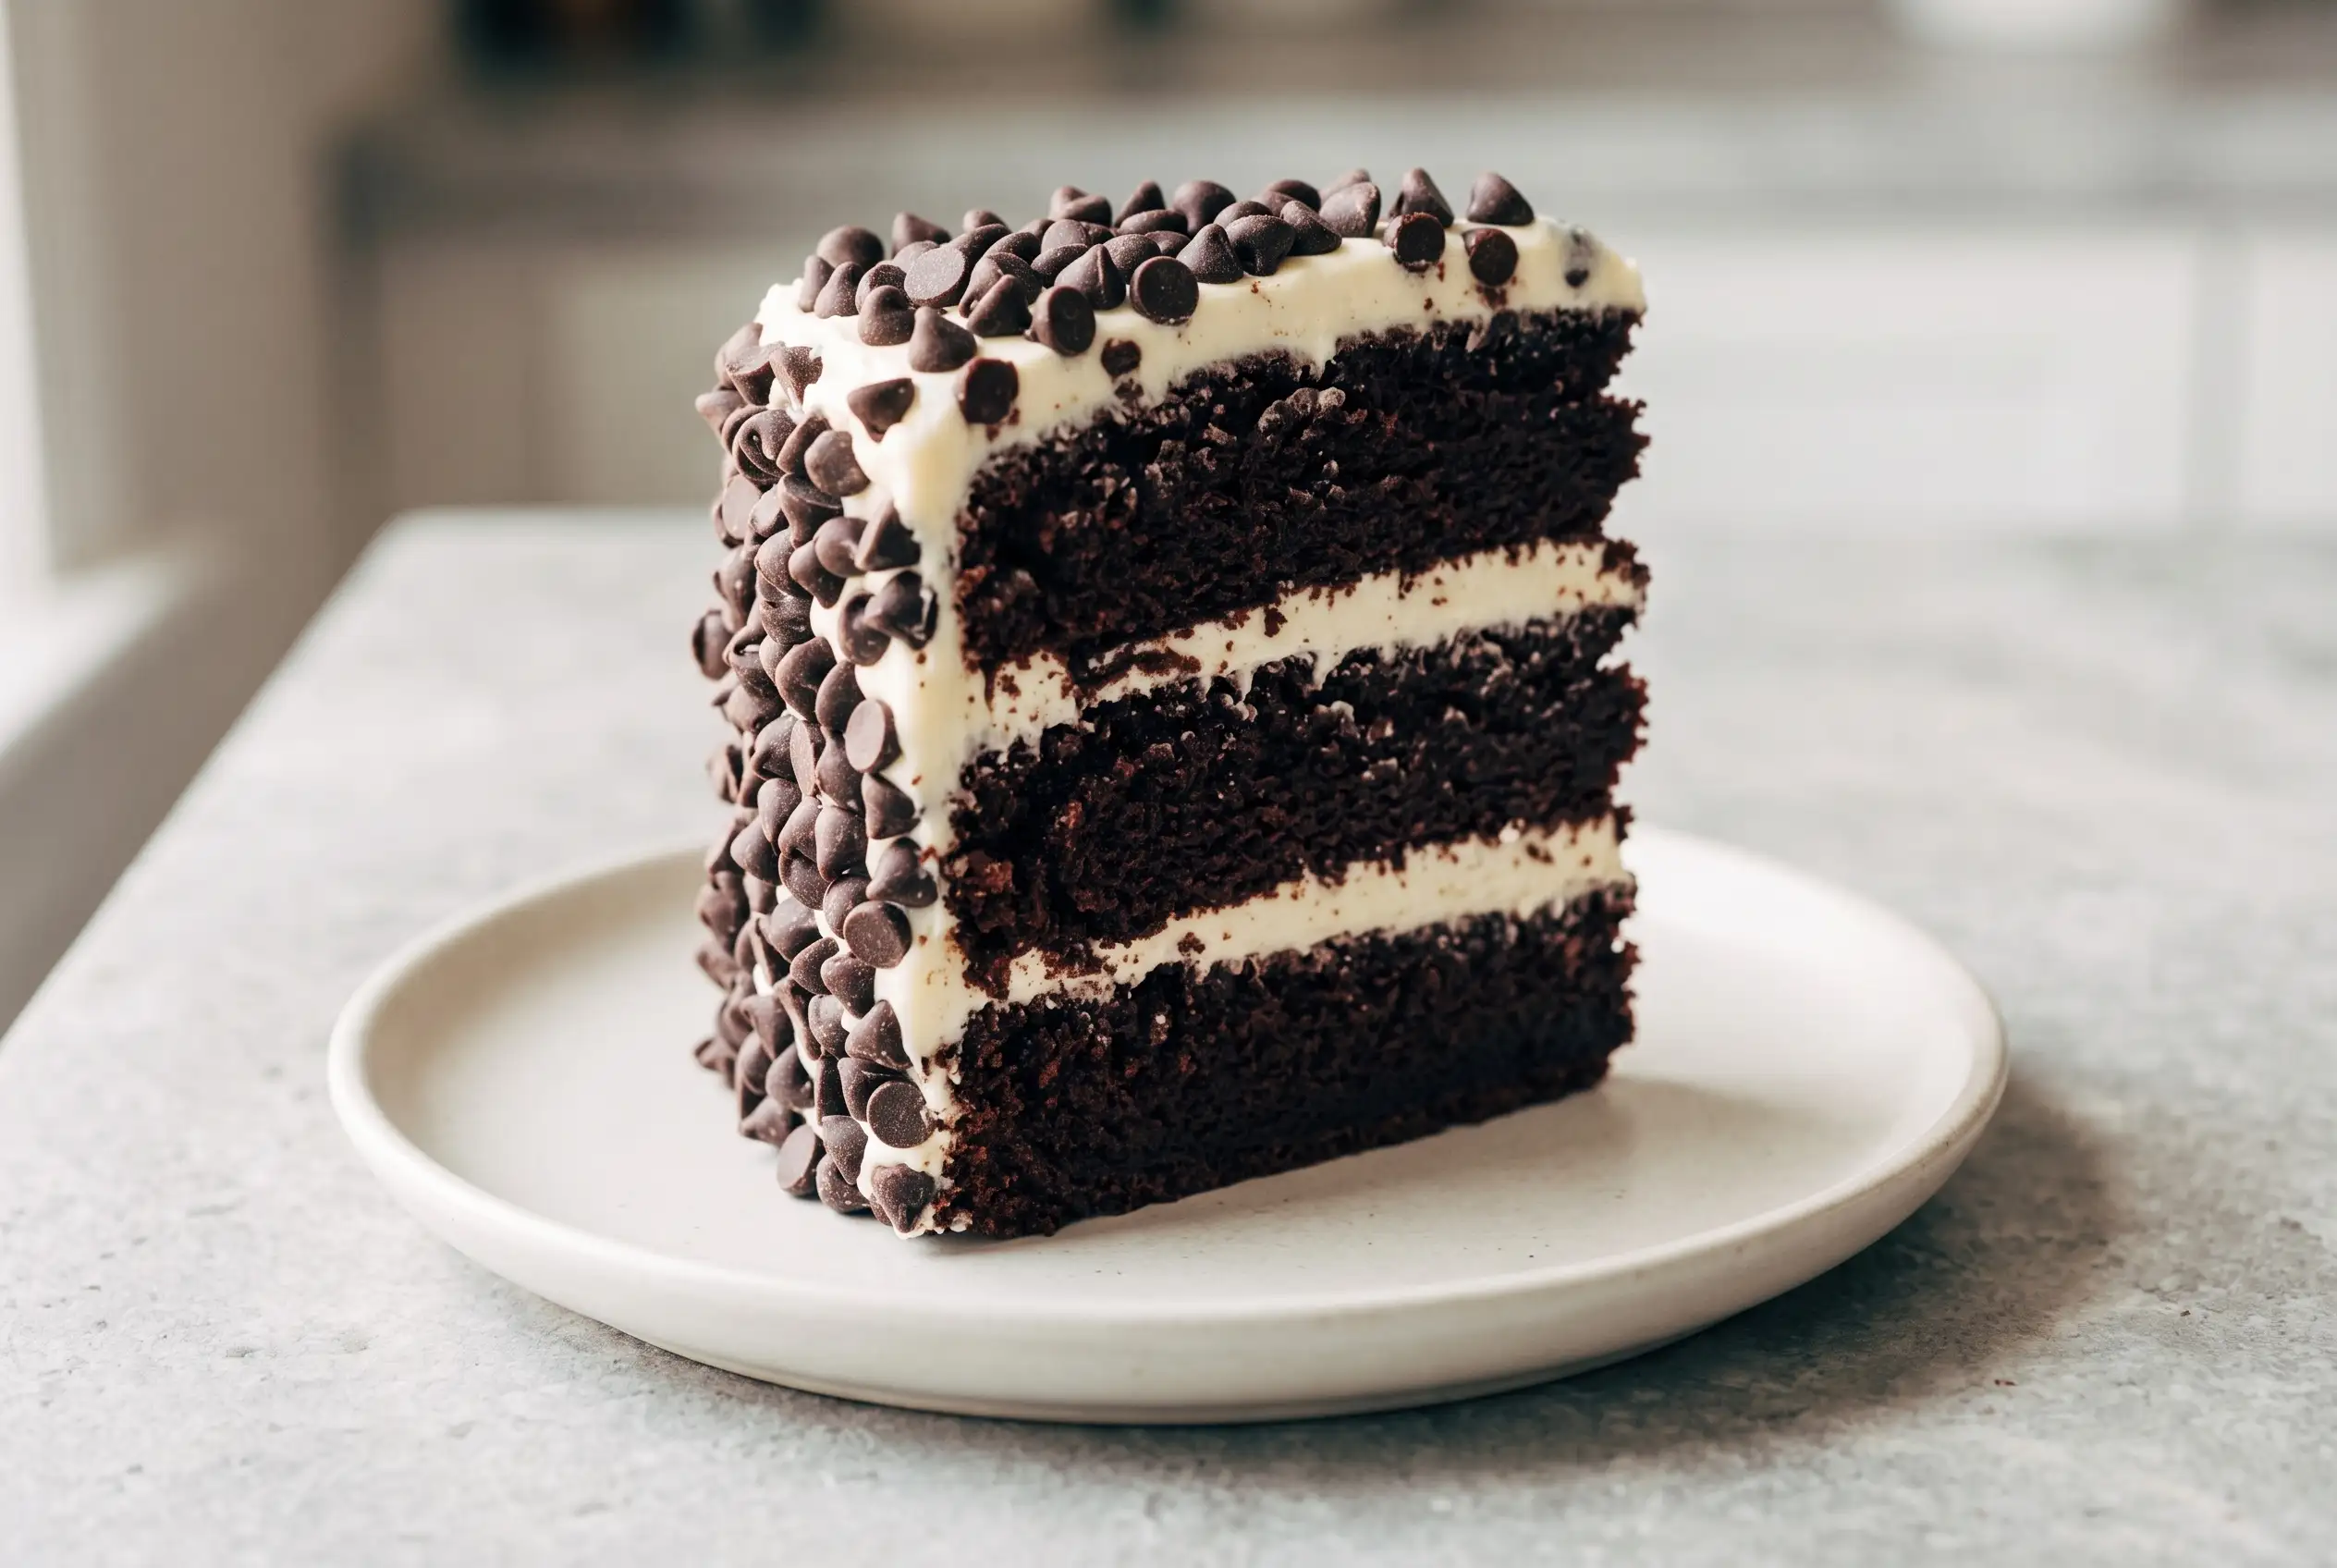
Blackout chocolate cake delivers a dramatic dessert experience built around deep cocoa flavor, creamy frosting, and a striking chocolate chip coating. The blackout chocolate cake combines a tender triple layer chocolate cake with a rich finish that makes every slice feel like a special occasion dessert.
Unlike lighter chocolate desserts, this cake centers on intensity from several carefully balanced elements. The cocoa-forward batter, smooth cream cheese frosting, and generous chocolate exterior create a dessert designed for chocolate lovers who want a memorable centerpiece.
Cocoa Choices Shape the Cake’s Intense Chocolate Character
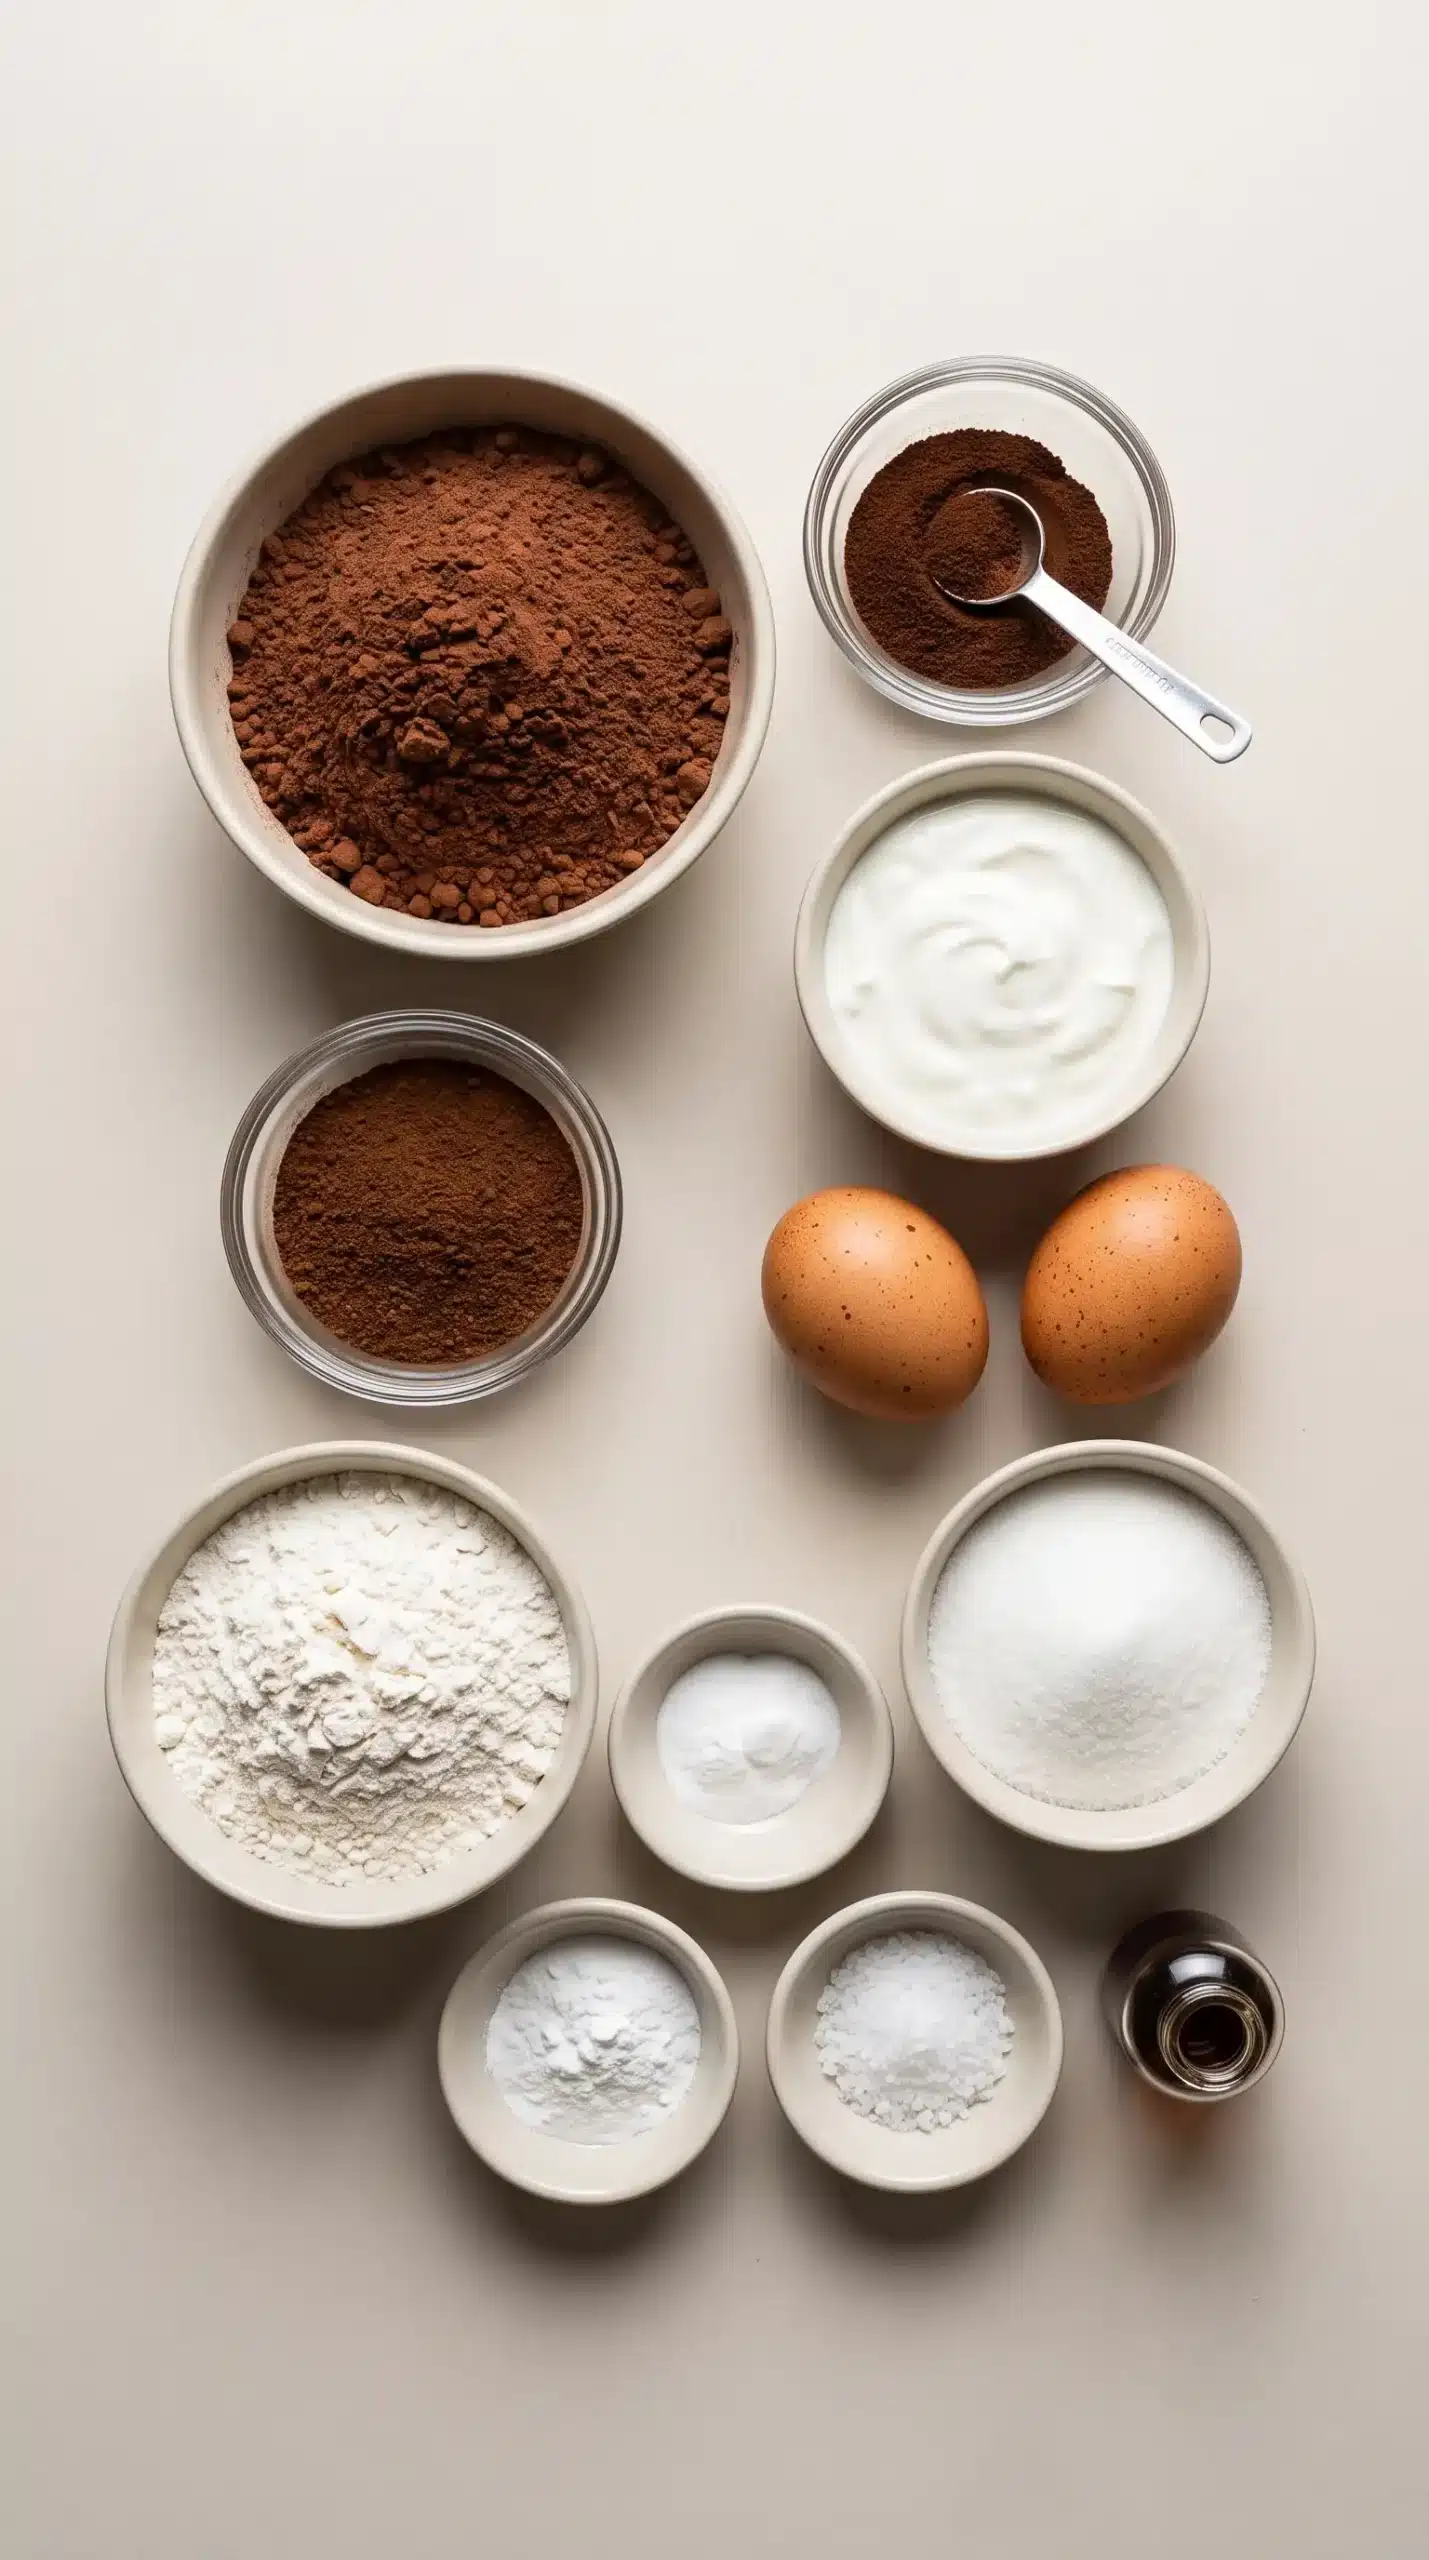
The cocoa powder used throughout the blackout chocolate cake plays a major role in the dessert’s identity. Unsweetened cocoa provides the concentrated chocolate flavor that defines the layers, while instant espresso powder supports the cocoa notes without changing the dessert into a coffee-flavored cake. Rich chocolate baking often begins with choosing the right cocoa, as seen in these cocoa powder desserts where the ingredient remains central to the finished flavor.
Plain Greek yogurt helps create a moist crumb by adding richness to the batter. Its creamy texture works alongside the liquid ingredients to produce a cake layer that can support generous frosting while remaining soft after baking.
Careful balance between dry and wet ingredients keeps the chocolate cake with chocolate chips from becoming heavy. The combination of cocoa, flour, sugar, eggs, yogurt, water, oil, and vanilla creates the structure needed for multiple layers and a bold chocolate profile.
Triple Layers Create a Distinct Celebration Cake Structure
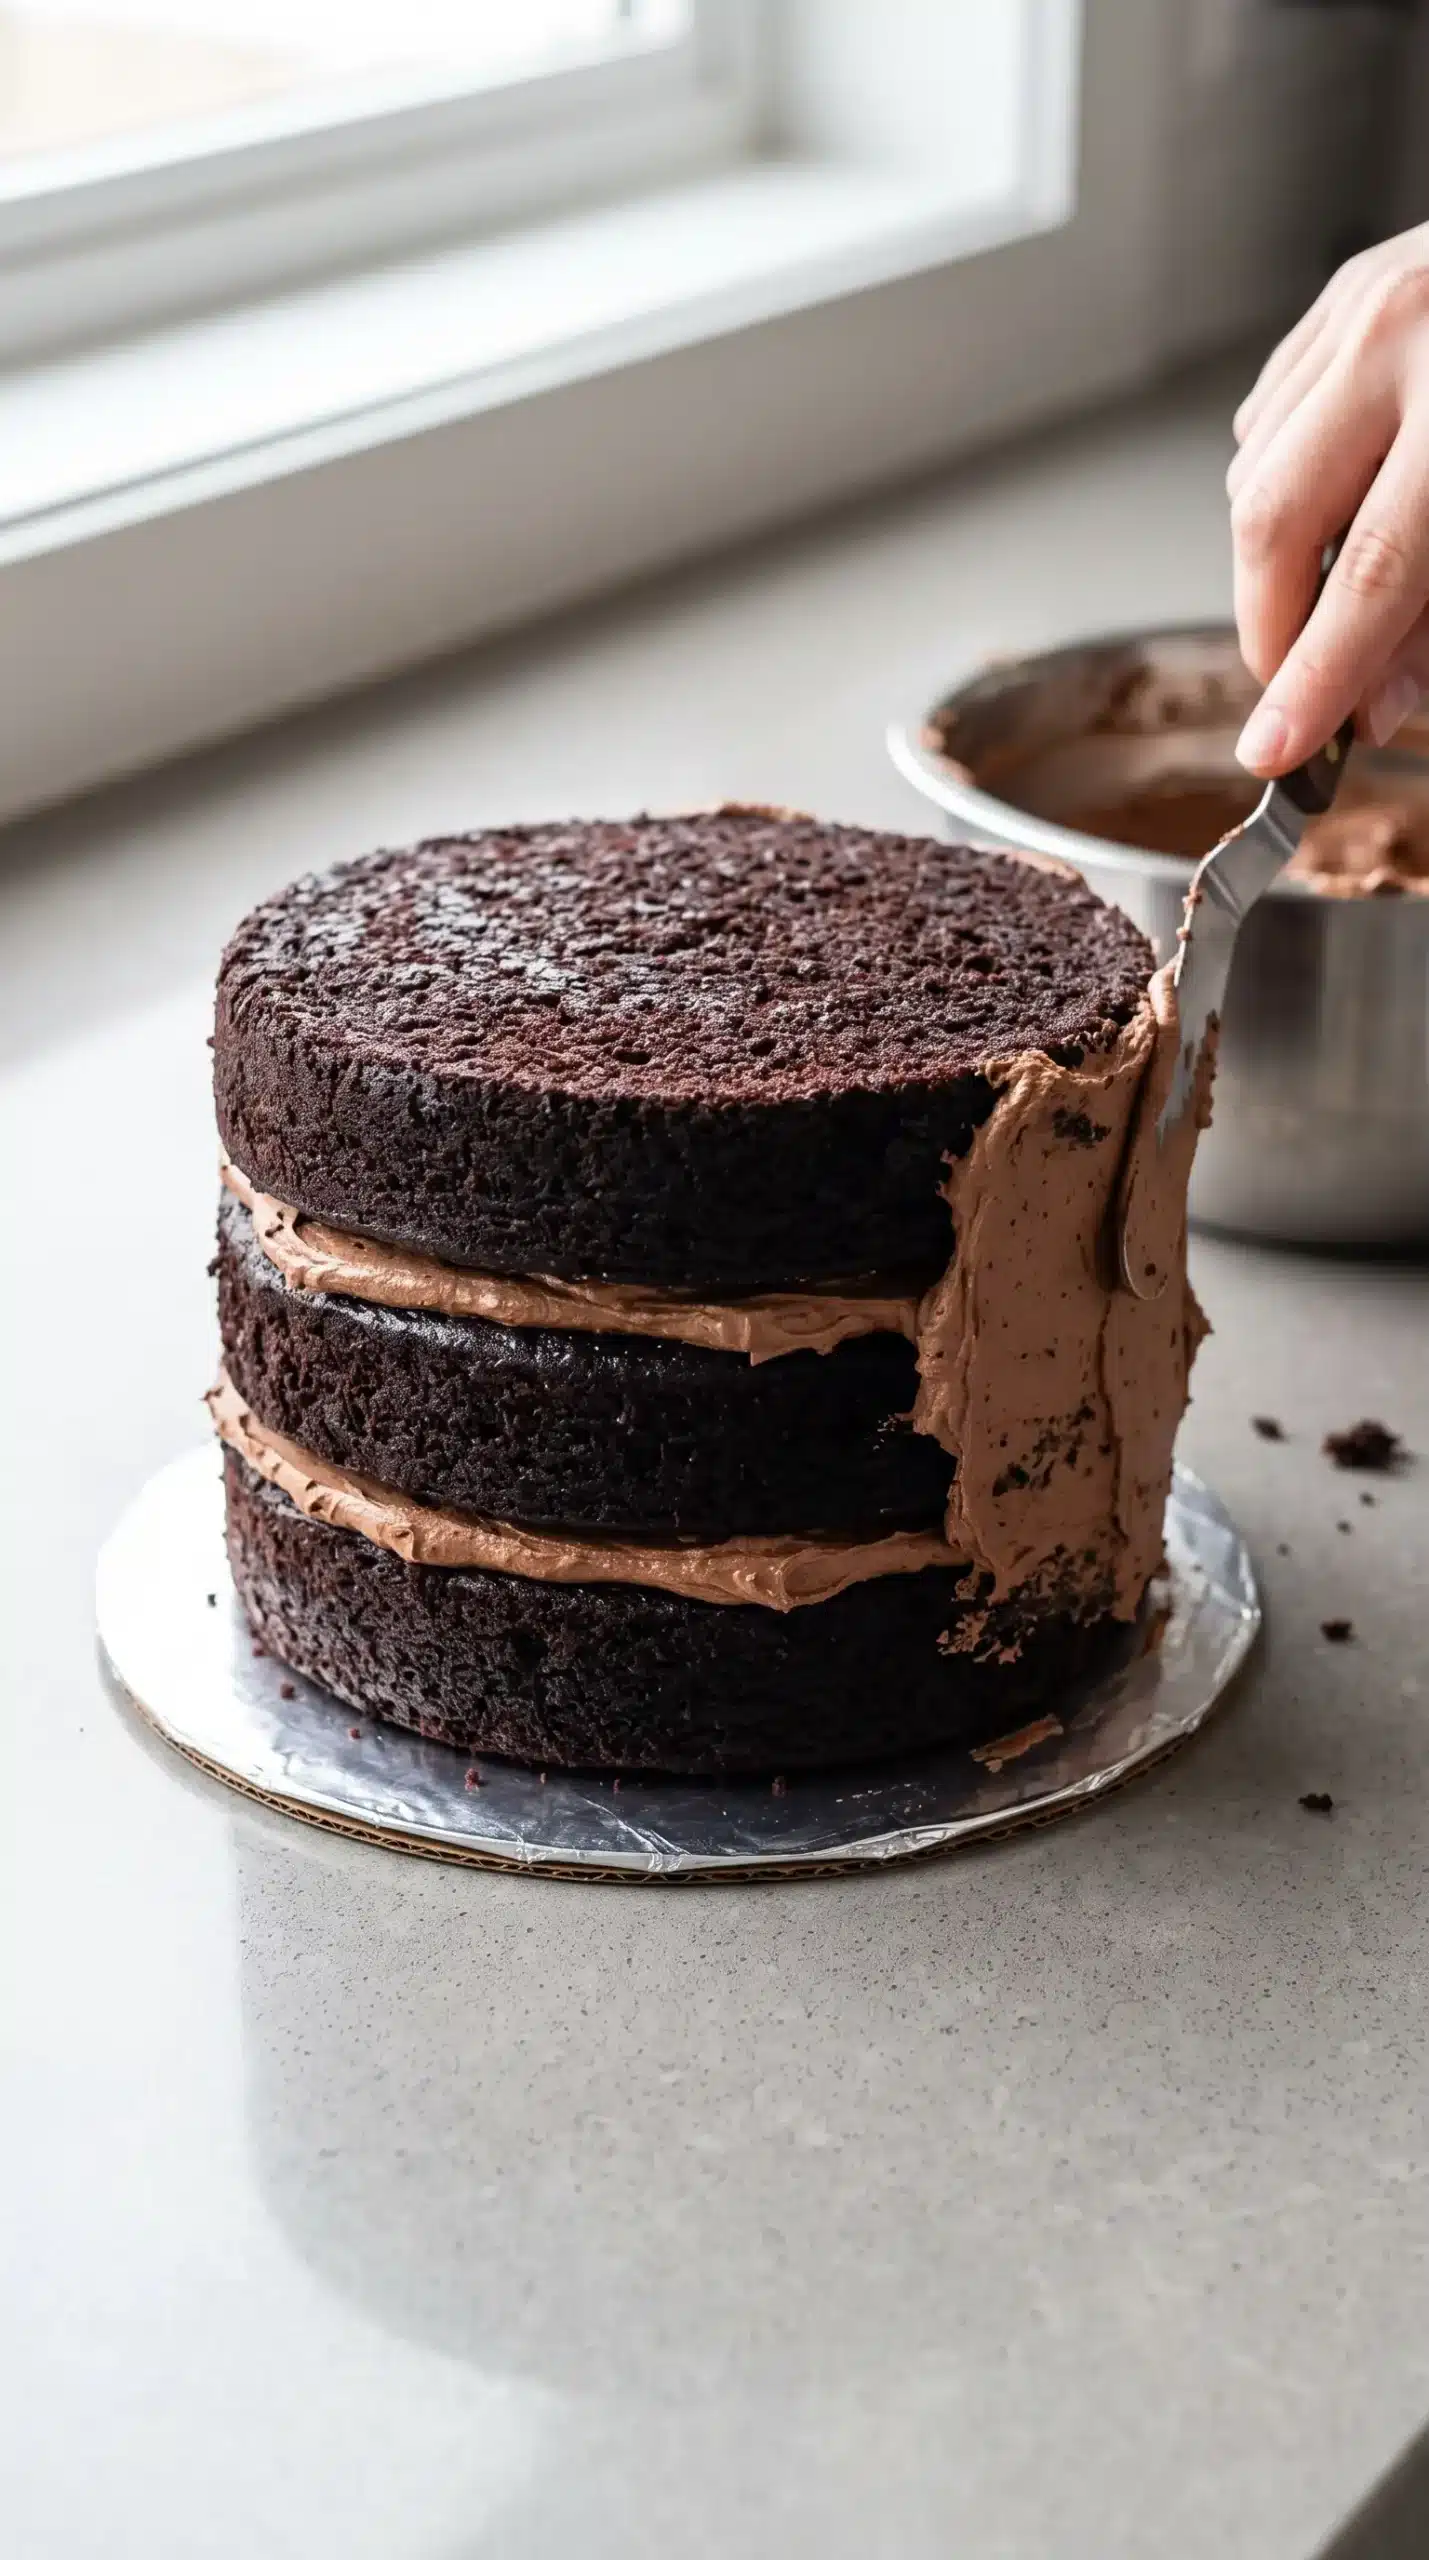
A triple layer chocolate cake gains its visual appeal from stacked rounds that reveal distinct chocolate layers separated by frosting. The height gives the dessert a dramatic presentation while allowing each slice to show the relationship between cake, filling, and coating.
Chocolate Chips Define the Signature Outside Finish
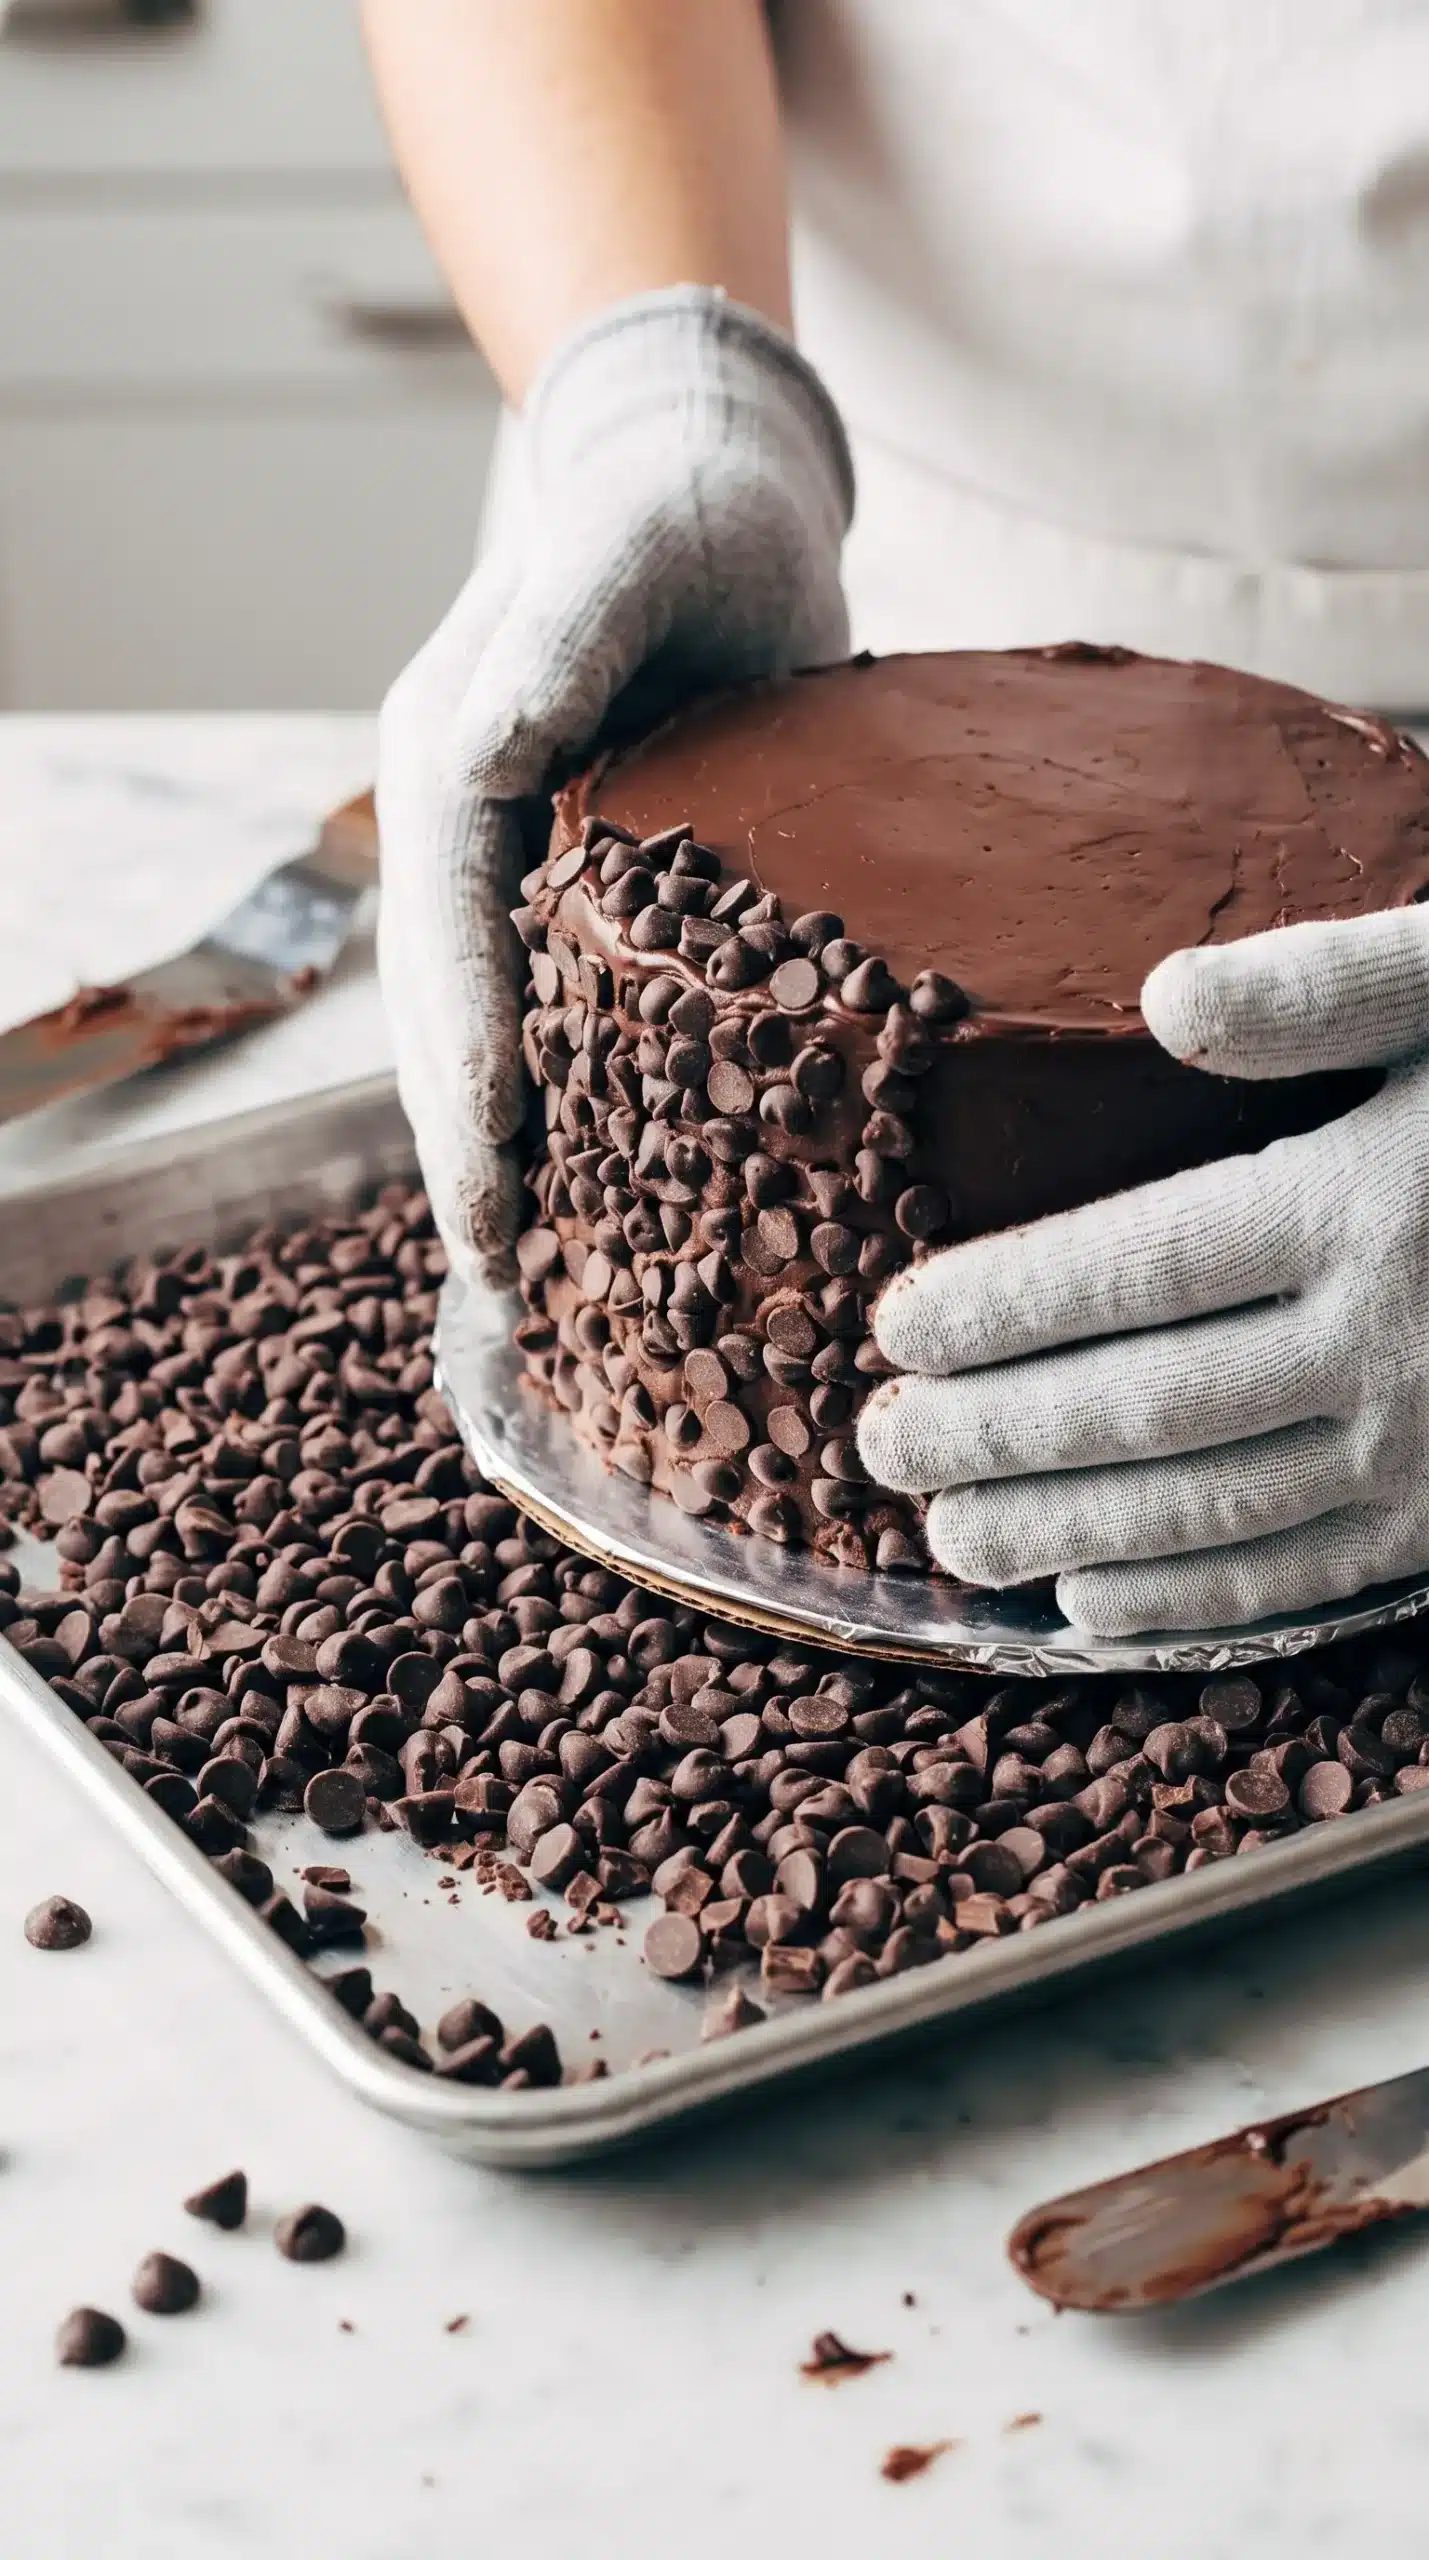
The chocolate chip coating gives the blackout chocolate cake its recognizable appearance and adds texture beyond the soft interior. Rolling the chilled frosted cake into chocolate chips allows the pieces to attach across the outside surface.
A wide surface makes the coating process easier because the cake can make even contact with the chips. Extra melted chocolate drizzled over the top can add another decorative layer for a dessert that fully embraces its chocolate theme.
Baking Controls Protect the Moist Cake Texture
Successful baking depends on recognizing how the batter should be handled before it reaches the oven. The dry ingredients need to be combined evenly first so cocoa and leavening are distributed throughout the cake layers.
Gentle mixing after the wet ingredients are added helps preserve the intended texture. Once the batter comes together, dividing it evenly between the prepared pans supports consistent layers that stack neatly after cooling.
Mixing the batter only until the ingredients come together helps protect the cake’s tender crumb, since overmixing in baking can create excess gluten development and lead to a tougher texture.
The oven temperature and baking time influence the final structure of the cake. The layers should be set before assembly, and cooling gives the cake enough stability to hold the frosting without shifting.
Several preparation details can make the assembly process smoother:
- Pan preparation: Grease each cake pan thoroughly so the baked layers release cleanly.
- Layer cooling: Allow the cake rounds to cool before adding frosting to maintain a stable stack.
- Frosting coverage: Apply an even coating so chocolate chips can attach across the surface.
Blackout Chocolate Cake Mistakes That Change the Finished Result
Uneven layers are one common issue when building a blackout chocolate cake. Dividing batter inconsistently can create rounds with different heights, making the finished stack harder to balance.
Adding frosting while the cake layers are still warm can also create problems. Soft cake can move during assembly, and the frosting may lose the smooth texture needed for the outer chocolate chip coating.
Rushing the chilling stage may affect the coating process. A chilled frosted cake provides a firmer surface, helping the chocolate chips stay attached instead of sliding away during handling.
Common mistakes and practical adjustments include:
- Loose cake layers: Cool the rounds fully before stacking to improve stability.
- Uneven frosting: Smooth the exterior before adding chocolate chips for better coverage.
- Hard-to-cut slices: Bring the cake closer to room temperature before serving.
Frosting Technique Balances the Cake Layers
The frosting connects the three cake rounds and provides the surface needed for the chocolate chip finish. A smooth mixture of butter, cream cheese, cocoa, powdered sugar, vanilla, salt, and cream creates a rich coating that complements the cake.
Applying frosting between layers, around the outside, and across the top creates a complete chocolate experience in every serving. The thickness of the coating can be adjusted while keeping enough frosting available for the full assembly.
Serving Conditions Change the Slice Experience
Blackout chocolate cake can be enjoyed chilled or at room temperature, but slicing is often easier when the cake is slightly softened. A warmer serving temperature allows the frosting and cake texture to feel more approachable.
| Serving approach | Texture result | Best consideration |
|---|---|---|
| Chilled cake | Firmer frosting and cleaner structure | Useful when preparing ahead |
| Room temperature cake | Softer layers and easier slicing | Helpful for serving individual portions |
| Freshly drizzled finish | Extra chocolate emphasis | Add before the topping fully sets |
Storing and Preparing Slices Keeps Chocolate Flavor Ready
The rich structure of a chocolate blackout cake makes it suitable for preparing before a gathering. Keeping the assembled cake protected helps maintain the frosting texture and preserves the contrast between the soft layers and chocolate coating.
Slices should be handled carefully because the tall layered design contains several components. A sharp knife creates cleaner portions by moving through the frosting and cake without compressing the layers.
Planning ahead also helps with serving. The cake can be chilled after assembly, then allowed to adjust before slicing so the texture matches the preferred serving style.
Chocolate Cake Pairings Add Contrast to Each Serving
The deep cocoa character of blackout chocolate cake pairs well with simple additions that provide contrast. Fresh berries, whipped cream, or a glass of milk can complement the richness without competing with the chocolate flavor.
Tools and Setup Choices Simplify the Build
Preparing the workspace before assembly makes the process more controlled. Three round cake pans support the layered structure, while cardboard circles covered with foil help move and coat the finished cake safely.
The cardboard support method is especially useful during the chocolate chip coating stage. It creates a stable grip while allowing the frosted cake to contact the chips across the outside surface.
A wide pan for the chocolate chips also improves control during finishing. Spreading the chips across a larger area creates room for the cake to roll evenly and collect the coating without unnecessary handling.
Why the Chocolate Blackout Cake Recipe Works for Gatherings
The chocolate blackout cake recipe stands out because it combines familiar chocolate cake comfort with a dramatic layered presentation. The combination of soft cocoa layers, creamy frosting, and chocolate chips creates a dessert that feels generous and celebratory.
Blackout Chocolate Cake Gains Its Signature Depth Through Balance
Blackout chocolate cake succeeds when each part supports the next: the cocoa-rich layers provide structure, the frosting creates richness, and the chocolate chip exterior adds texture. The most important cooking decision is protecting that balance during mixing, cooling, and assembly.
Careful handling turns the dessert into a dependable centerpiece where the intense chocolate character remains clear from the first slice to the last.
Blackout Chocolate Cake Questions About Texture and Preparation
Can blackout chocolate cake be made without espresso powder?
Yes, the espresso powder can be omitted if needed. It is included to complement the cocoa flavor, but the cake will still maintain its chocolate character without it.
Why does the cake need cooling before frosting?
Cooling helps the layers become firm enough to support the frosting. Warm cake can soften the frosting and make stacking more difficult.
How do the chocolate chips stay attached to the outside?
The frosting creates a surface for the chips to stick to, and chilling the assembled cake helps the coating remain in place during the finishing step.
Can the cake be served chilled?
Yes, chilled slices have a firmer texture and hold their shape well. Allowing portions to sit briefly before eating can create a softer bite.
What makes this a triple layer chocolate cake?
The cake uses three round chocolate layers stacked with frosting between them. The layered structure creates the tall appearance associated with a triple layer chocolate cake.
Blackout Chocolate Cake with Cream Cheese Frosting
Blackout chocolate cake is a rich triple-layer dessert with a tender cocoa crumb, creamy frosting, and a dramatic chocolate chip coating. It is a decadent centerpiece perfect for chocolate lovers and special gatherings.
Ingredients
Method
Preparation
- Preheat the oven to 350°F / 175°C. Grease three 9-inch round cake pans.
- Combine the dry ingredients in a bowl. Add the wet ingredients and mix just until the batter comes together.
- Divide the batter evenly between the three prepared cake pans.
Baking
- Bake the cake layers for 35 minutes, or until the cakes are set.
- Allow the cake layers to cool before assembling.
Frosting
- Beat the frosting ingredients, excluding the chocolate chips, until the mixture is smooth.
Assembly
- Cut two 9-inch round cardboard circles and cover them with foil.
- Spread a small amount of frosting on one cardboard circle and place the first cake layer on top.
- Stack the cake layers with frosting between each layer, then cover the outside and top with frosting.
- Chill the frosted cake for 30 minutes.
Topping
- Spread the chocolate chips in a wide jelly roll pan.
- Place the second cardboard circle on top of the chilled cake. Hold the cardboard edges and roll the cake into the chocolate chips, pressing gently so they adhere.
Notes
A small amount of extra chocolate can be melted and drizzled over the top for an additional chocolate finish. The cake can be served chilled or at room temperature, but it is easier to slice at room temperature or before the chocolate drizzle fully sets.