From breakfast to dinner, from healthy meals to sweet desserts – Next Yum Recipes brings you quick, simple and tasty ideas for every occasion and every time.

Have you ever chilled an icebox cake overnight and still ended up with cookies that stayed oddly crunchy in the middle?
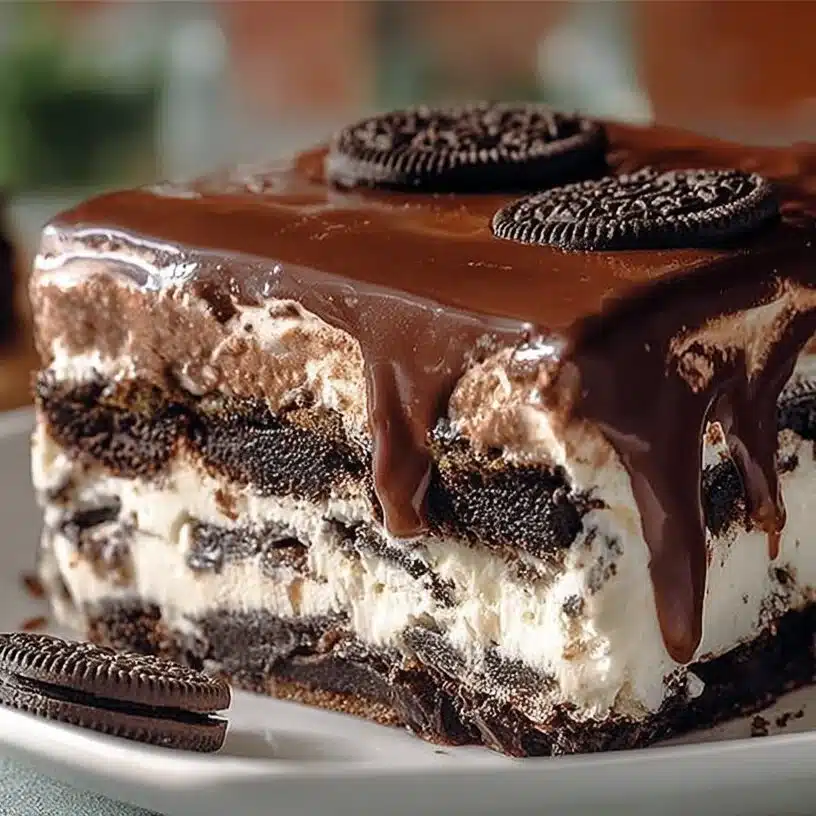
No-Bake Oreo Icebox Cake works best when you treat it like a texture project, not just a quick layer-and-chill dessert. You’re aiming for cookies that soften into sliceable layers while keeping a little bite, plus a filling that stays airy instead of turning heavy. The chocolate topping finishes it with a clean, glossy snap.
Why You’ll Love This No-Bake Oreo Icebox Cake
You don’t need an oven, but you still get a dessert that looks bakery-ready once it’s sliced. The layers hold their shape, and the contrast between dark cookies and pale cream makes every piece look intentional.
It’s also a low-stress make-ahead option. Chilling time does the main work, which is perfect when you’re juggling guests or you just want dessert handled before dinner even starts.
If you like comparing presentation styles for chocolate-forward desserts, you can pull ideas from this classic chocolate cake guide and borrow simple finishing touches that fit your table.
How to Make This No-Bake Oreo Icebox Cake
The key is building a filling that’s light but stable. Whipped cream gives you lift, and cream cheese adds structure and a gentle tang so the sweetness doesn’t feel flat. When you fold, you want the mixture to stay fluffy, not deflate into a dense cream.
Layering matters more than it seems. Even cookie coverage creates even softening, so your slices don’t collapse at the edges. As the cake chills, the cookies absorb moisture slowly, turning cake-like without becoming gummy.
The topping is your final texture move. A ganache that’s warm but not hot spreads smoothly and sets into a thin, shiny layer. If it’s too hot, it can melt the top cream layer and blur your clean lines.
Ingredient Insights for No-Bake Oreo Icebox Cake
Oreo cookies: Oreos soften into tender layers as they chill, but they need full contact with the filling. If you leave large gaps or stack unevenly, some cookies stay crunchy in random spots. Keeping the cookies flat and snug gives you cleaner slices.
Heavy whipping cream: Cold cream whips faster and holds peaks better, which helps the filling set. If the cream warms up, it can whip slowly and end up softer, which can make the layers slide when you cut.
Cream cheese: Cream cheese adds stability and a slight tang that balances sweet cookies and chocolate. It must be softened so it blends smoothly. If it’s still cold, you’ll see tiny lumps that won’t disappear, even with mixing.
Powdered sugar: Powdered sugar sweetens while helping the filling stay smooth. It dissolves easily, so you don’t get gritty texture. If you prefer a less sweet cake, this is usually where you can scale back slightly.
Vanilla extract: Vanilla rounds out the filling and makes it taste more “dessert-like” instead of just sweet dairy. It also softens the sharp edge that cream cheese can sometimes bring.
Semi-sweet chocolate: Semi-sweet chocolate gives you a balanced topping that won’t taste overly sugary against the cookies. A thin ganache layer sets neatly and gives your knife a satisfying “tap” as it breaks through.
Heavy cream: Cream in the ganache makes the topping silky instead of hard and brittle. When it’s right, it pours smoothly and sets with a slight softness that slices cleanly.
Butter: Butter is optional, but it can add shine and a smoother finish to the ganache. Use a small amount so the topping stays set and doesn’t feel greasy.
Texture & Flavor Experience
When it’s done right, your fork slides through soft cookie layers that feel almost like chocolate cake, but you still catch a faint Oreo bite at the center. The filling tastes creamy and lightly tangy, not overly sweet, and it feels airy on the tongue.
The ganache sets into a thin, glossy top that cracks gently as you cut. You’ll smell cocoa first, then vanilla and cream. It’s rich, but it doesn’t feel heavy if your filling stayed fluffy.
How to Serve No-Bake Oreo Icebox Cake
Serve it well chilled for the cleanest slices and the best layer definition. A hot knife helps a lot here. Dip the blade in hot water, wipe it dry, then slice. Repeat between cuts so the ganache top stays neat.
This dessert pairs nicely with coffee, espresso, or cold milk because the bitterness balances the sweet cookies and chocolate. If you want a fresh contrast, a small handful of berries on the side gives a bright bite without changing the cake itself.
Tips to Make No-Bake Oreo Icebox Cake
- Chill your bowl and beaters for a few minutes so the whipped cream sets up faster and holds better.
- Soften cream cheese fully so it blends smooth and doesn’t leave tiny lumps in the filling.
- Fold whipped cream gently so the mixture stays airy and mousse-like.
- Lay cookies in an even layer with minimal gaps so the softening is consistent.
- Let the ganache cool until warm, not hot, so it spreads without melting the cream layer.
- Chill long enough for the cookies to turn cake-like. If it still feels crunchy, give it more time.
- Use a hot, dry knife for clean slices, especially through the chocolate top.
- If your filling feels loose, chill it briefly before layering to help it hold shape.
Common Mistakes to Avoid
- Overbeating whipped cream. Once it turns grainy, the filling can feel heavy and won’t fold smoothly.
- Layering with warm filling or warm ganache, which can soften the structure and blur the layers.
- Leaving large gaps in the cookie layer, which creates uneven softening and messy slices.
- Chilling too briefly. The cake needs time for cookies to soften and for the filling to firm up.
- Cutting with a cold knife, which can drag ganache and tear the top layer.
Storing Tips
Keep the cake refrigerated and covered so it doesn’t pick up fridge odors and the filling stays stable. Over time, the cookies will continue to soften, so the texture becomes more cake-like by day two and day three.
For longer storage, freeze individual slices. Thaw them in the refrigerator so the filling stays smooth. If you thaw at room temperature, the filling can soften too quickly and lose clean edges.
FAQs
What is an icebox cake?
An icebox cake is a no-bake dessert where cookies soften in the fridge as they absorb moisture from a cream filling. The end result slices like cake even though nothing was baked.
How do you keep the layers neat when slicing?
Chill the cake until fully set, then use a hot knife and wipe it between cuts. That keeps the ganache from dragging and helps you get clean edges.
Can you make No-Bake Oreo Icebox Cake ahead of time?
Yes, and it often turns out better. Making it the night before gives the cookies time to soften evenly and helps the filling firm up for cleaner slices.
Conclusion
No-Bake Oreo Icebox Cake is the kind of dessert that looks impressive because the layers do the work for you. When you focus on a fluffy filling, even cookie layers, and a slightly cooled ganache, you get clean slices and a balanced, chocolatey bite. For more technique comparisons and troubleshooting ideas, see this icebox cake recipe showdown.
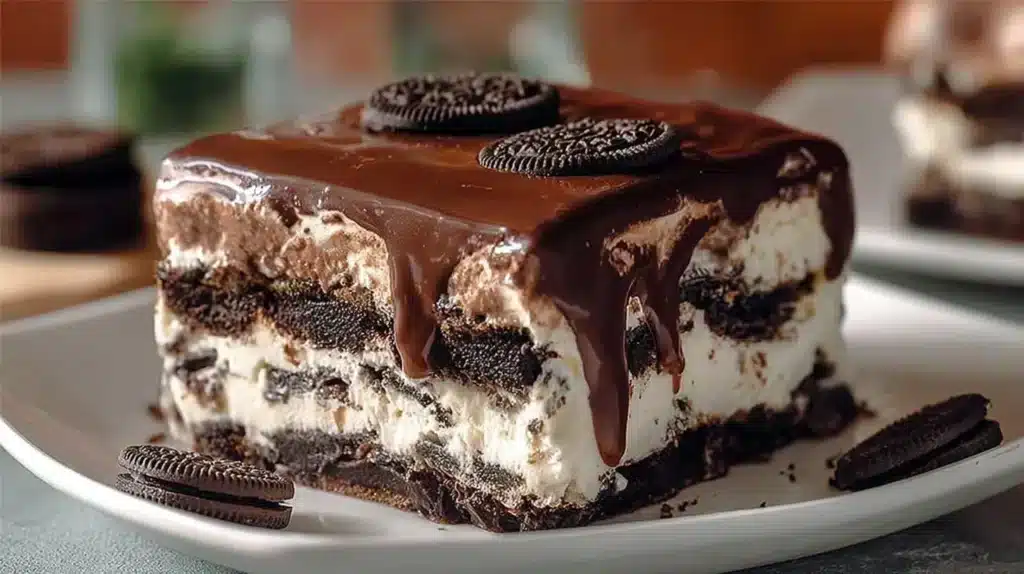
No-Bake Oreo Icebox Cake
A creamy and crunchy dessert featuring layers of whipped cream, cream cheese, and Oreo cookies, topped with a glossy chocolate ganache.
Ingredients
Method
Preparation
- In a mixing bowl, beat the heavy whipping cream until stiff peaks form.
- In another bowl, beat the softened cream cheese until smooth and creamy.
- Gradually fold the whipped cream into the cream cheese until well combined.
Layering
- In a rectangular dish, layer 12 Oreo cookies at the bottom.
- Spread a layer of the cream mixture over the cookies.
- Repeat the layering process until all cookies and cream mixture are used, finishing with a cream layer on top.
Topping
- Melt the semi-sweet chocolate chips and pour over the top layer.
- Cover and refrigerate for at least 4 hours or until set before serving.
Notes
Serve chilled for the best texture. Pair with cold coffee or fresh berries. Store in the refrigerator for up to 4 days.


