From breakfast to dinner, from healthy meals to sweet desserts – Next Yum Recipes brings you quick, simple and tasty ideas for every occasion and every time.


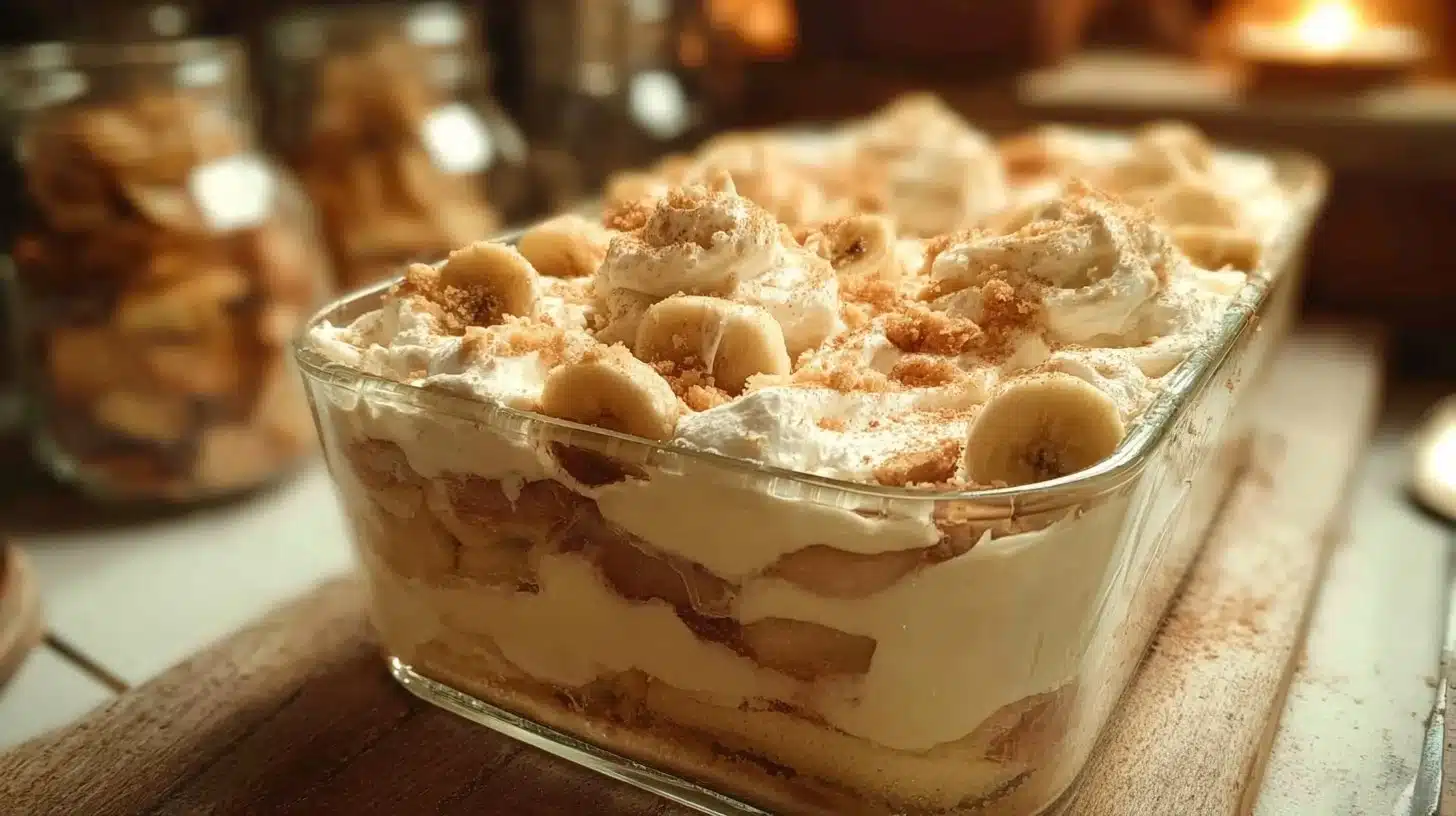
What if the “secret” to great banana pudding isn’t a fancy shortcut, but simply knowing when your custard is truly ready?
Old-fashioned Homemade Banana Pudding is all about timing and texture. You cook a simple stovetop custard, then layer it with vanilla wafers and ripe banana slices so everything softens and sets together in the fridge. It’s comforting, but it’s also surprisingly structured when you handle a few small details.
If you’re in the mood for a fruity twist with a different flavor balance, you can also try this strawberry cheesecake banana pudding variation. It’s a good comparison for how added tang and berry notes change the overall feel.
Why Make This Recipe
You get a dessert that feels classic without being fussy. The ingredient list is familiar, and the method relies on basic stovetop cues you can learn once and use forever.
The custard is the main reason this works. Flour thickens the base, egg yolks enrich it, and butter smooths out the finish. When you do it right, the pudding tastes rounded and creamy instead of just sweet.
This is also a strong make-ahead option. Once chilled, it serves cleanly and travels well, which is exactly what you want for potlucks and family dinners.
How to Make This Old-fashioned Homemade Banana Pudding
You start by building a thickened milk base on the stove, then you bring in egg yolks for richness. The important part is gentle heat and steady whisking. You’re aiming for a custard that thickens gradually, not one that rushes and turns lumpy.
After the yolks go in, a brief return to heat helps the custard set properly. You’ll notice the texture turn from “saucy” to more structured, and the bubbles, if they appear, should look slow and lazy rather than aggressive.
Layering is where texture happens. Wafers soften into a cake-like layer as they absorb custard, while bananas stay tender and fragrant. Chilling gives everything time to settle, so the spoonful tastes unified instead of scattered.
Ingredient Insights for Old-fashioned Homemade Banana Pudding
Sugar: Sugar sweetens, of course, but it also affects how thickening feels on the stove. A very high sugar mix can seem thinner at first, so you rely on texture cues rather than expecting instant thickness.
All-purpose flour: Flour gives you a traditional, softly set custard. It creates a creamy thickness rather than a gel-like set, which is part of why this style feels old-fashioned.
Salt: A small amount keeps the pudding from tasting flat. It sharpens vanilla and makes the banana flavor read more clearly.
Milk: Milk forms the body of the custard. Using a richer milk tends to give you a fuller mouthfeel, though even standard milk works if you cook gently and don’t rush the thickening.
Egg yolks: Yolks add richness and that unmistakable custard depth. They also help the pudding set smoothly, but they need careful tempering so you don’t end up with tiny cooked bits.
Butter: Butter finishes the custard with softness and shine. Stirring it in off heat helps it melt cleanly and keeps the flavor fresh.
Vanilla extract: Vanilla is the backbone flavor here. Adding it after cooking protects its aroma, so you get a brighter vanilla note instead of something muted.
Bananas: Bananas provide fragrance and natural sweetness. Ripe but firm bananas slice neatly and hold their shape, while very soft bananas can turn the layers a little messy.
Vanilla wafers: Wafers are more than crunch. They absorb custard and transform into a tender, cake-like layer. The timing of layering influences how soft they become.
Texture & Flavor Experience
When your banana pudding is right, the custard tastes silky and feels thick without being heavy. It should coat your spoon and settle back into the dish smoothly, not run like a thin sauce.
You’ll notice the wafers soften into something almost like vanilla cake. The bananas become fragrant and tender, and the whole dessert tastes mellow and warm, even though it’s served cold.
How to Serve Old-fashioned Homemade Banana Pudding
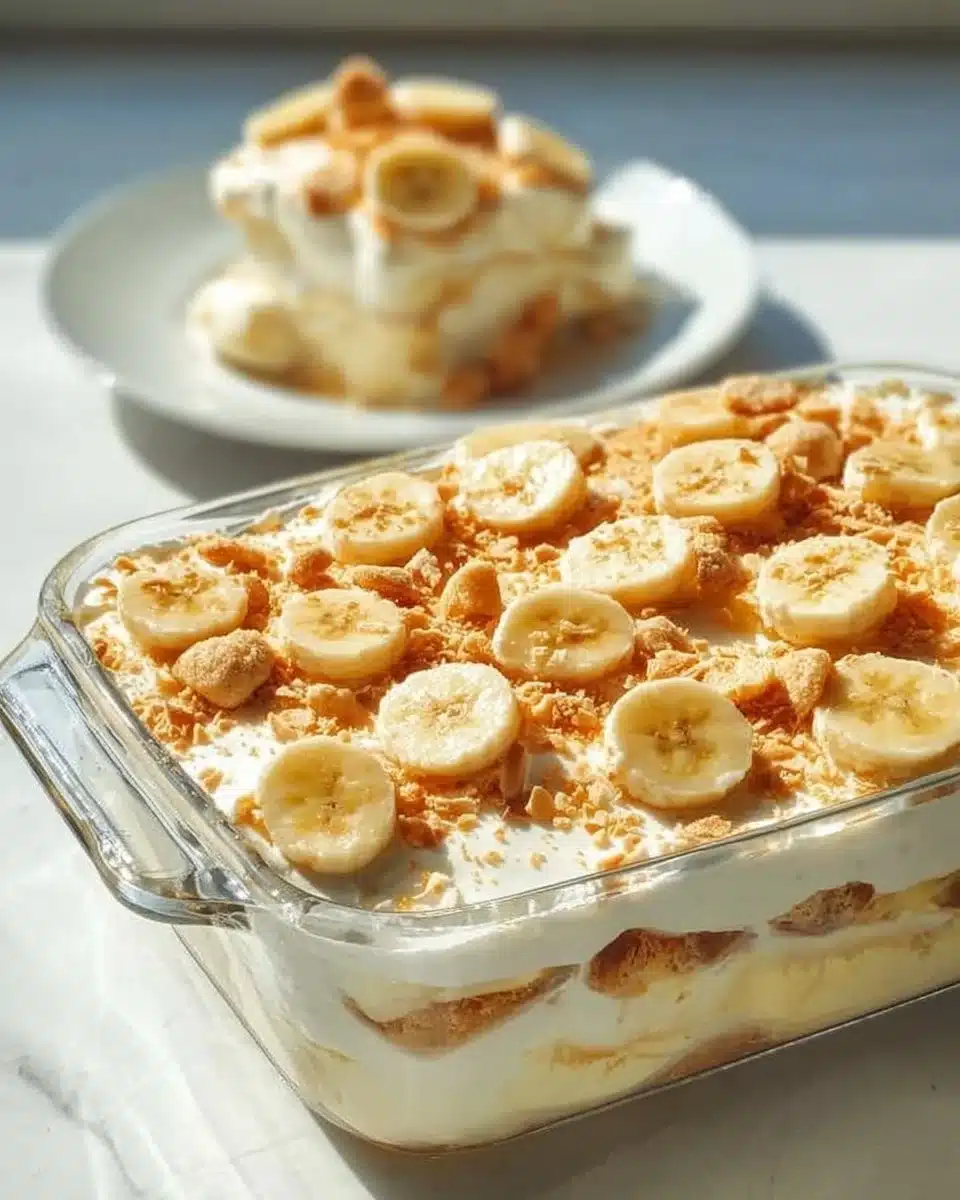
You’ll get the cleanest scoops when you serve it well chilled. A shallow dish makes family-style serving easy, while individual bowls help you keep the layers intact.
This dessert is sweet and creamy, so pairing it with coffee or unsweetened tea makes sense. If you want a simple garnish, a few fresh berries add color and a little tartness without changing the classic flavor.
For a neat look, you can add a few wafers around the edge and save a couple banana slices for the top right before serving. That last-minute banana layer looks brighter than bananas that have sat overnight.
Tips to Make Old-fashioned Homemade Banana Pudding
- Temper your yolks slowly with a small amount of hot custard so they blend in smoothly.
- Stir constantly over medium heat so the bottom doesn’t scorch and the custard thickens evenly.
- Watch for the “coat the back of a spoon” cue. When you draw a finger through it, the line should hold.
- Let the custard cool slightly before layering if you want firmer wafers and clearer layers.
- Slice bananas just before assembling so they stay fresher in both flavor and appearance.
- Add butter and vanilla off heat for a smoother texture and a cleaner vanilla aroma.
Common Mistakes to Avoid
- Cranking the heat too high, which can cause lumps and a slightly scorched taste.
- Skipping tempering, which can make the custard grainy from overcooked egg.
- Using very soft bananas that break down and blur the layers.
- Not chilling long enough, which leads to loose servings that don’t hold their shape.
Storing Tips
Keep the pudding covered in the refrigerator. It holds well for up to three days, though the wafers will soften more over time and the banana flavor becomes a little deeper and more mellow.
For the best surface texture, press plastic wrap directly onto the custard before sealing. Avoid freezing after assembling, because the custard can weep and the bananas can turn mushy once thawed.
FAQs
How do you know the custard is thick enough before chilling?
You’re looking for a pudding that coats the back of a spoon and doesn’t immediately run back together when you swipe a line through it. It should feel silky, not gluey.
Can you make the custard ahead and assemble later?
Yes. If you store the custard separately with plastic wrap pressed on the surface, you can layer it later for a slightly crisper wafer texture.
Why do bananas sometimes turn dark in the fridge?
Air exposure and natural enzymes cause browning. Keeping banana slices nestled between custard layers helps, and topping with fresh slices right before serving keeps the finish looking brighter.
What’s the best way to avoid a grainy custard?
Gentle heat and gradual yolk tempering matter most. If you see steam rising heavily or bubbling fast, your heat is probably too high.
Conclusion
Old-fashioned Homemade Banana Pudding rewards you for paying attention to simple cues. When your custard is smooth and properly thickened, the layers set into that classic creamy, cake-softened texture people expect.
If you like comparing techniques, you can look at The Southern Lady Cooks’ old-fashioned banana pudding to see how small method choices influence the final set and serving style.
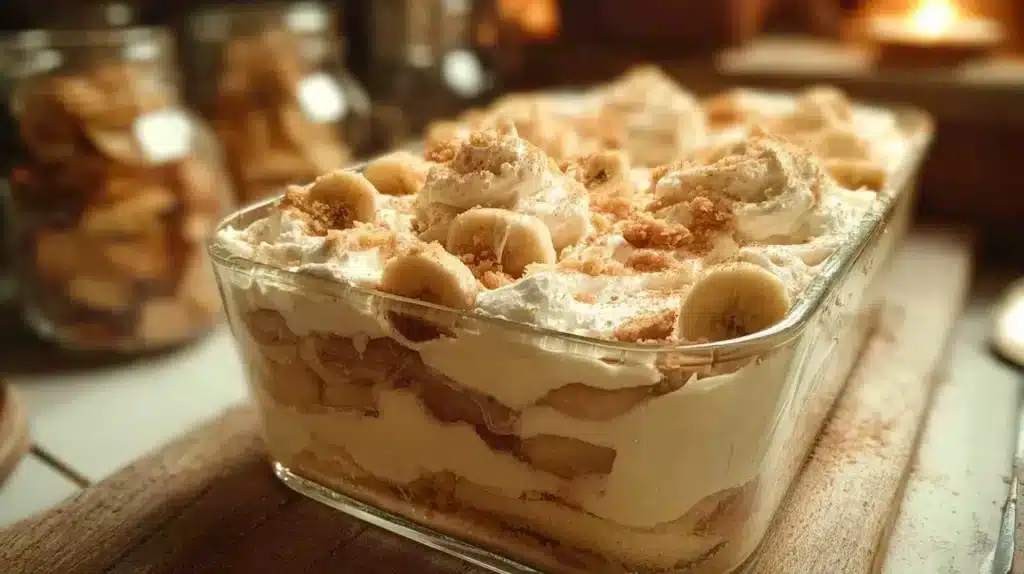
Old-fashioned Homemade Banana Pudding
A creamy custard layered with vanilla wafers and ripe banana slices that sets up smooth and rich after chilling.
Ingredients
Method
Preparing the Custard
- In a saucepan, combine sugar, flour, and salt.
- Gradually stir in the milk and cook over medium heat until thickened, stirring constantly.
- Remove from heat and whisk in egg yolks. Return to heat and cook for an additional 2 minutes.
- Remove from heat and stir in butter and vanilla.
Layering the Pudding
- In a serving dish, layer vanilla wafers, sliced bananas, and the pudding mixture.
- Repeat layers, ending with pudding on top.
- Chill for at least 2 hours before serving.
Notes
Serve this pudding chilled for the best texture. Pair it with strong coffee or a light black tea. For a neat presentation, press some extra vanilla wafers around the edge of the serving dish and arrange thin banana slices on top just before serving. Store in the refrigerator covered; it will keep well for up to 3 days.


